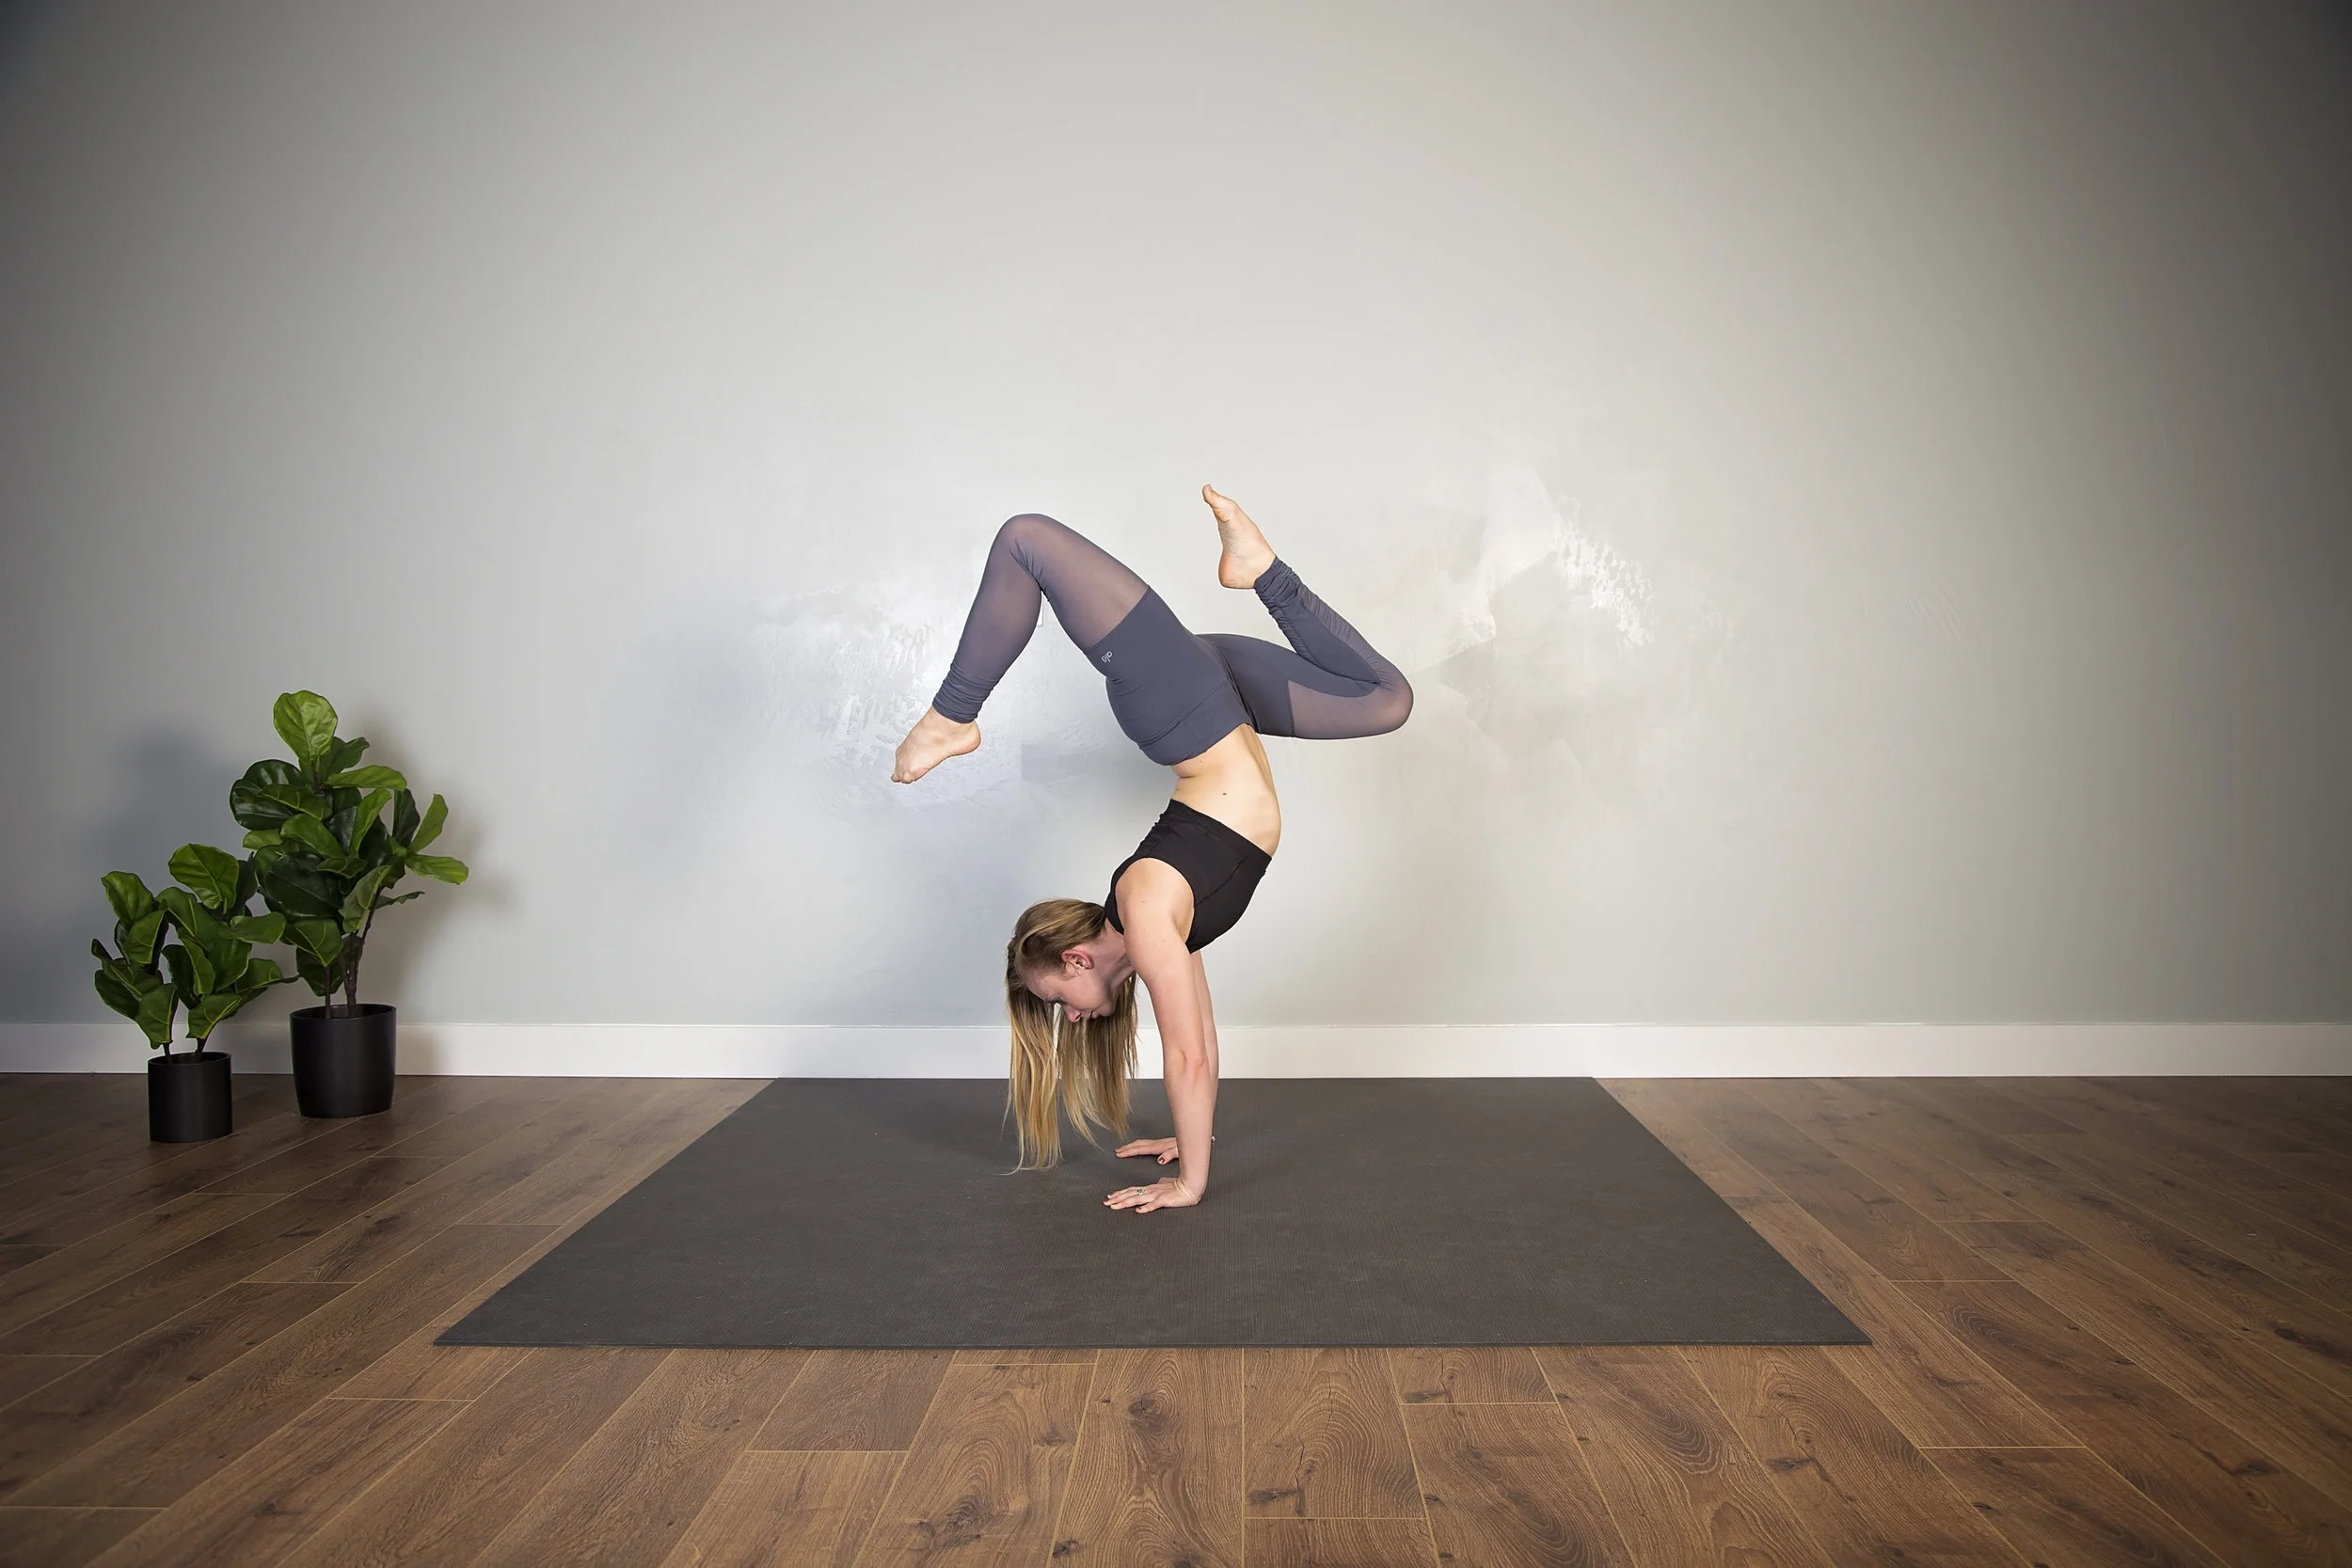
5 moves to (finally) nail that handstand
Handstands are a bitch.
For the past two years, one of my goals has been to master a handstand. With countless attempts and numerous fails, I don't have much but bruises and scrapes to show for my efforts.
Since what I've been doing doesn't seem to be working, I thought I'd reach out to my favorite local yogi, Nicole Wild, for the insider tips and tricks on how to finally nail that handstand.
Nicole is a photographer and yoga instructor based in beautiful Bozeman, Montana. I quickly developed a serious girl crush on Nicole for numerous reasons. For starters, her classes are hard...like sweat-dripping, arm-shaking, heart-pumping hard. Next, she plays the coolest tunes...no chanting here, folks. And last, she keeps classes light-hearted by telling jokes and engaging with her students, making everyone feel right at home.
After seeing Nicole handstand all over Instagram, I knew she was the right gal to help me with this two-year dilemma and actually see some results. So I'm WAY excited to share Nicole's take on how to finally nail that handstand once and for all. Enjoy!
-The following article is from Nicole Wild: yoga instructor + photographer-
As with most things in life, there’s no better way to learn a handstand than to practice handstands. Go ahead and fall hundreds of times, but keep trying. Nothing beats the practice of practice. With that being said, along my own journey of learning to handstand, I’ve pinpointed a few specific things that furthered my progress immensely.
“ Nothing beats the practice of practice”
First of all, it takes a certain type of strength to hold a handstand – more than I realized when I first started throwing my feet in the air. And the more you practice, the more you build this type of strength. You might even notice some shoulder or arm soreness the day after you’ve been practicing. However, there are certain strengthening exercises you can be doing daily so that once you kick up, you’ll have the strength to support yourself.
So here are some kick-ass strengthening excercies to prepare your core for holding up your body weight:
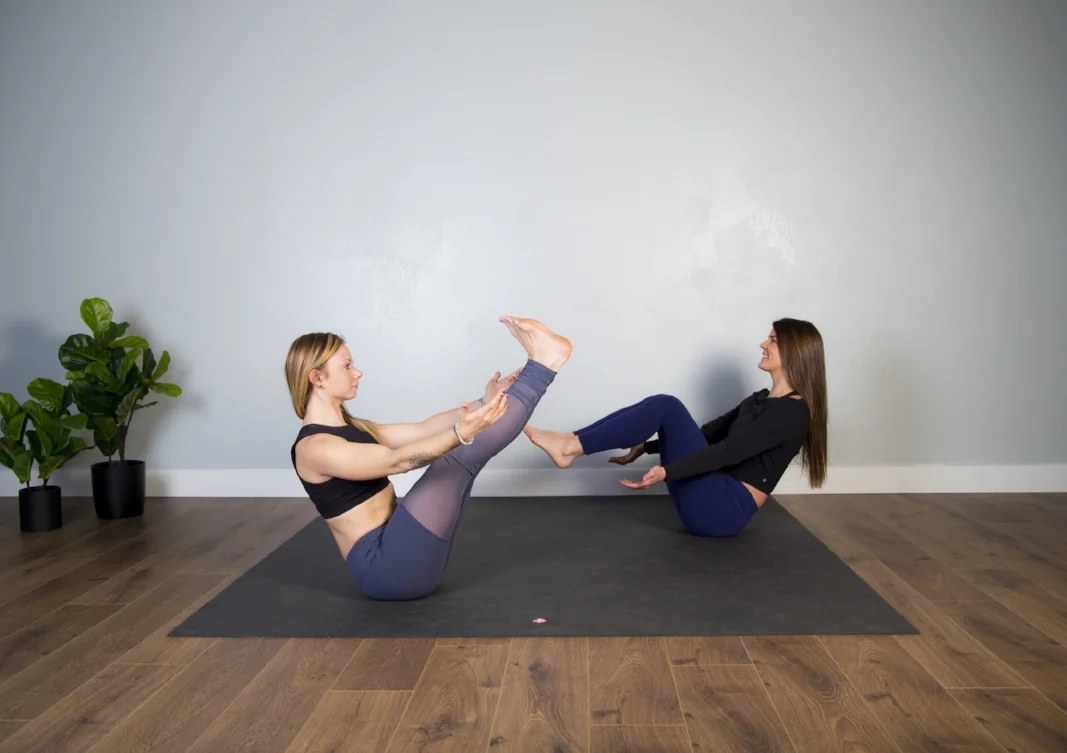
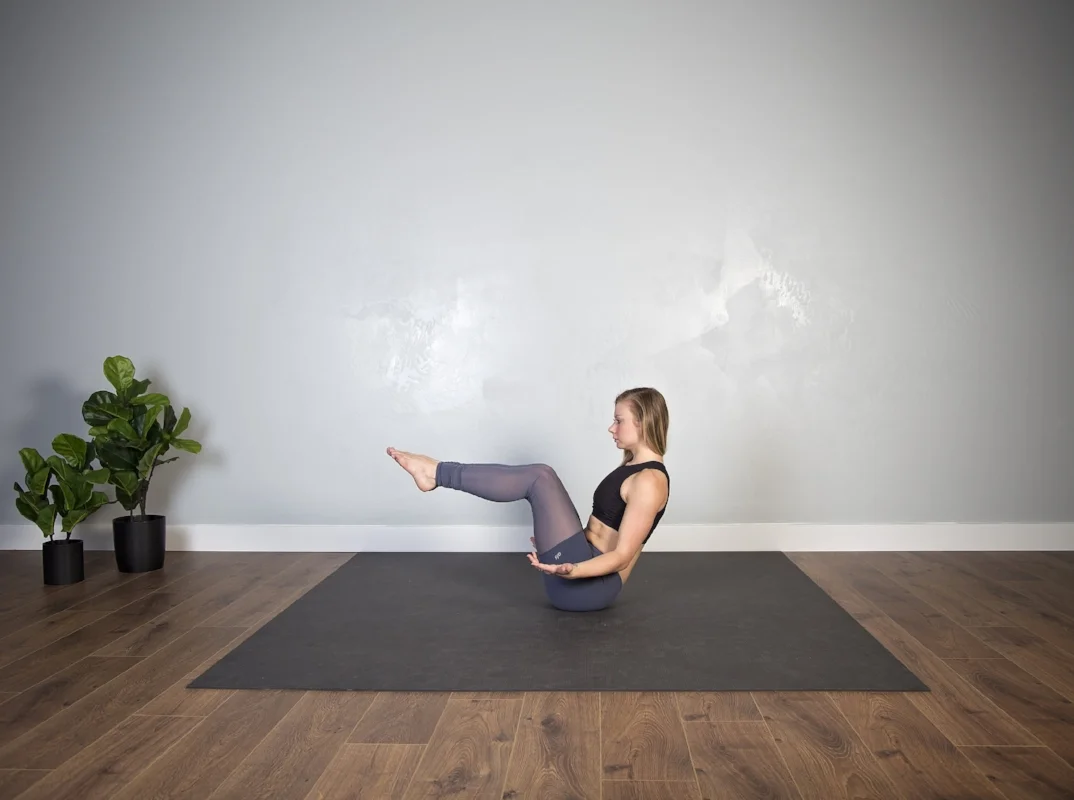
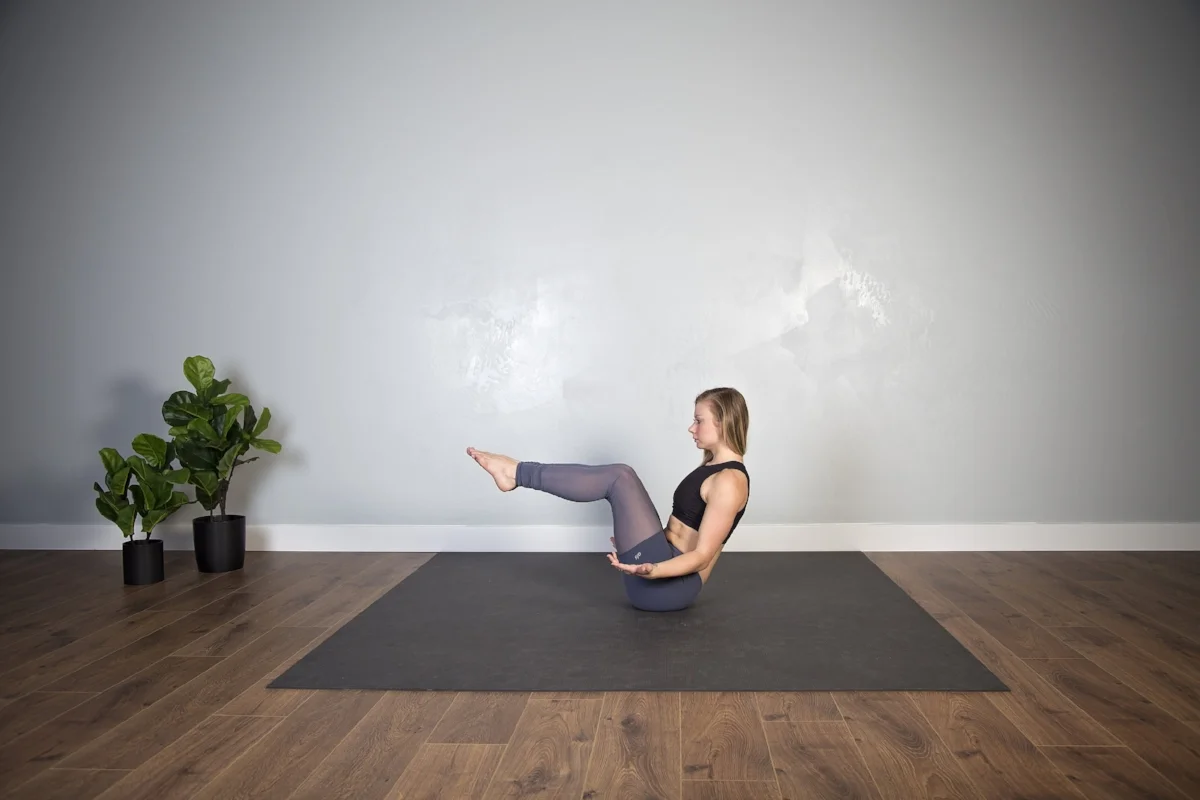
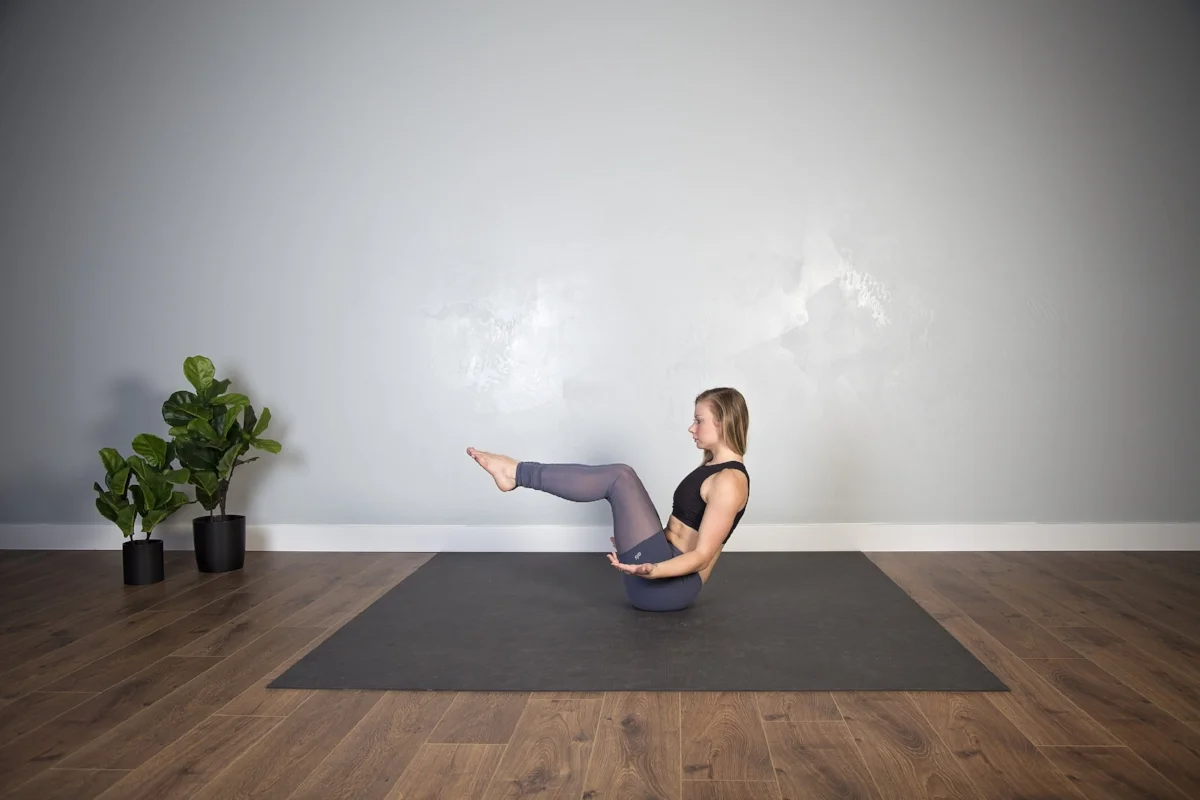
1. Boat Pose, or Navasana
Begin this pose with knees bent. Then, make sure that your spine is strait and emphasize pressing your heart up toward the ceiling. If you begin to round through your back, you’ll dump into the low back in a way that, over time, could potentially cause injury. If you begin to feel tension in the lower back in any abdominal strengthening, take a break and come back to it.
If you feel pretty strong with knees bent, you might then straighten the legs for more of a challenge. Again, keep your spine long to protect your lower back. Zip the legs up tight and flex the feet back toward the body.
boat pose-knees bent
boat pose-legs straight
Still feeling strong? (You badass)
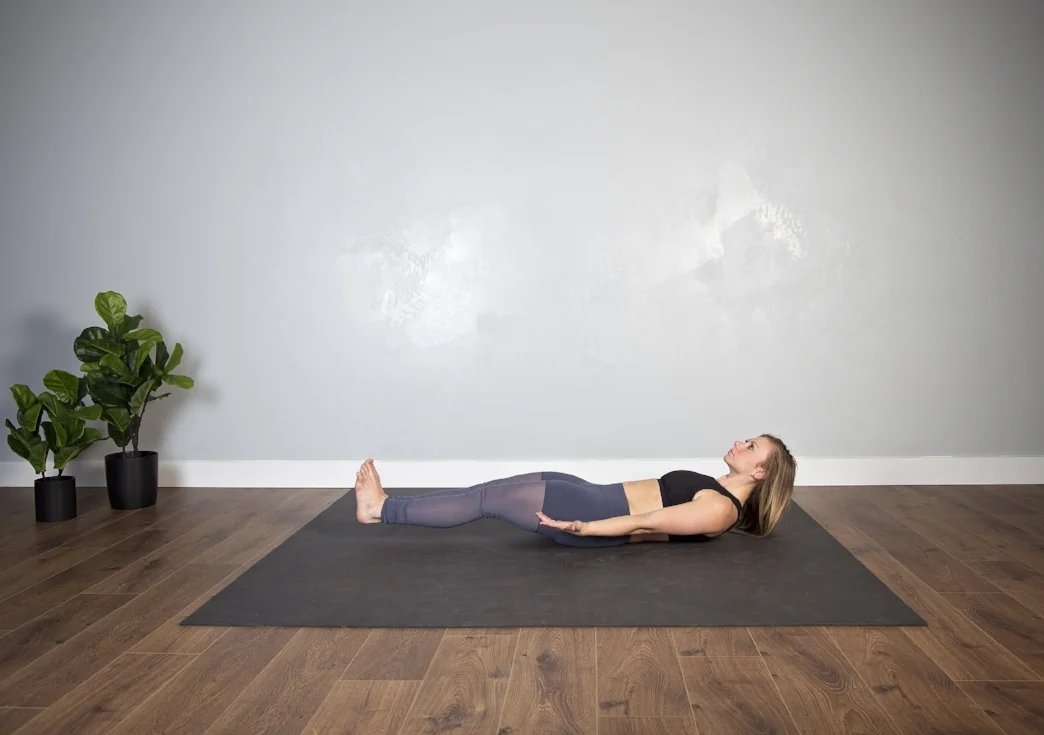
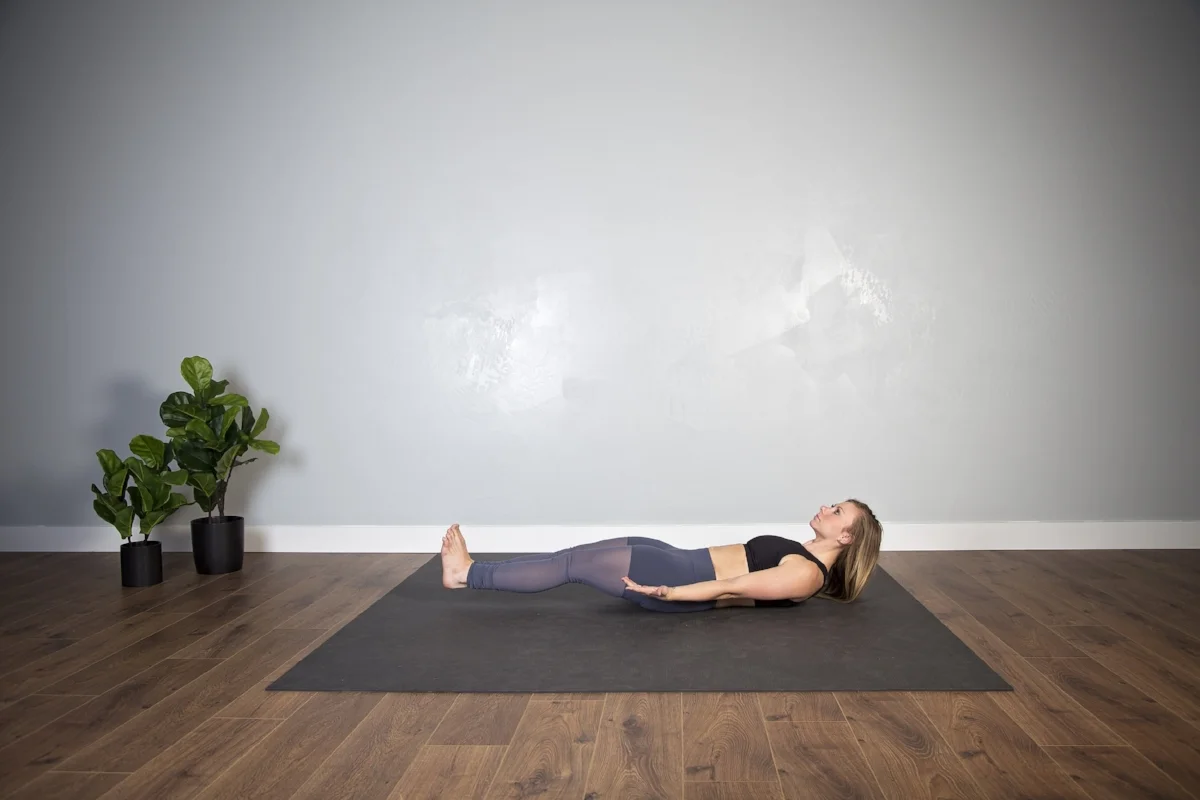
From your boat pose, either legs bent or straight, begin to lower and lift both upper body and legs.
This one is often called a hollow hold. Pause when your heels and shoulders are slightly hovering above the mat.
hollow hold
Tips here:
- Keep your legs zipped up so tightly that if someone tried to pull your feet apart, there would be resistance.
- Try to keep your low back touching the mat. This will make it harder, I promise. However, it’s another way to protect the low back.
- Again, take breaks when you need them. I like to say that in a yoga space, you’re working to find that point between pushing yourself to go a little farther than you thought you could, this is where growth lies, but also listening to your body and acknowledging when you’ve found your edge. If you get feedback in your low back, you’ve found it. Back off and come back after a few cycles of breath.
1
2
3
V-ups are a blast, do ‘em.
This next one is going to strengthen shoulders, arms and core. It’s really a triple whammy.
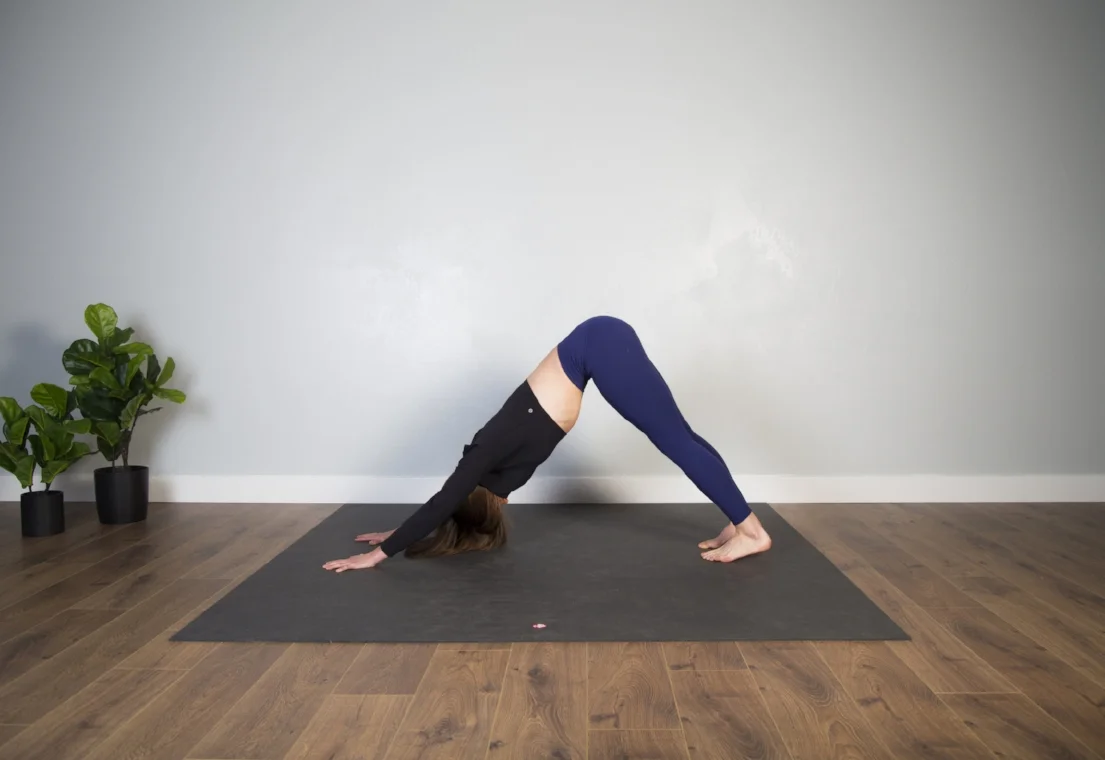
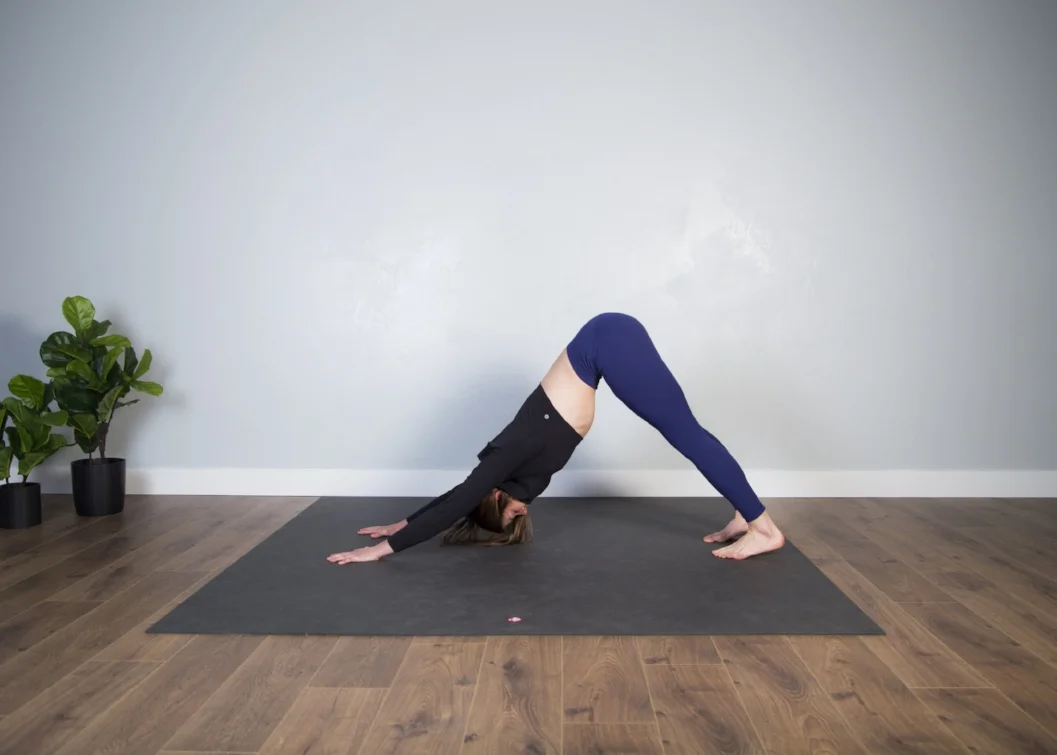
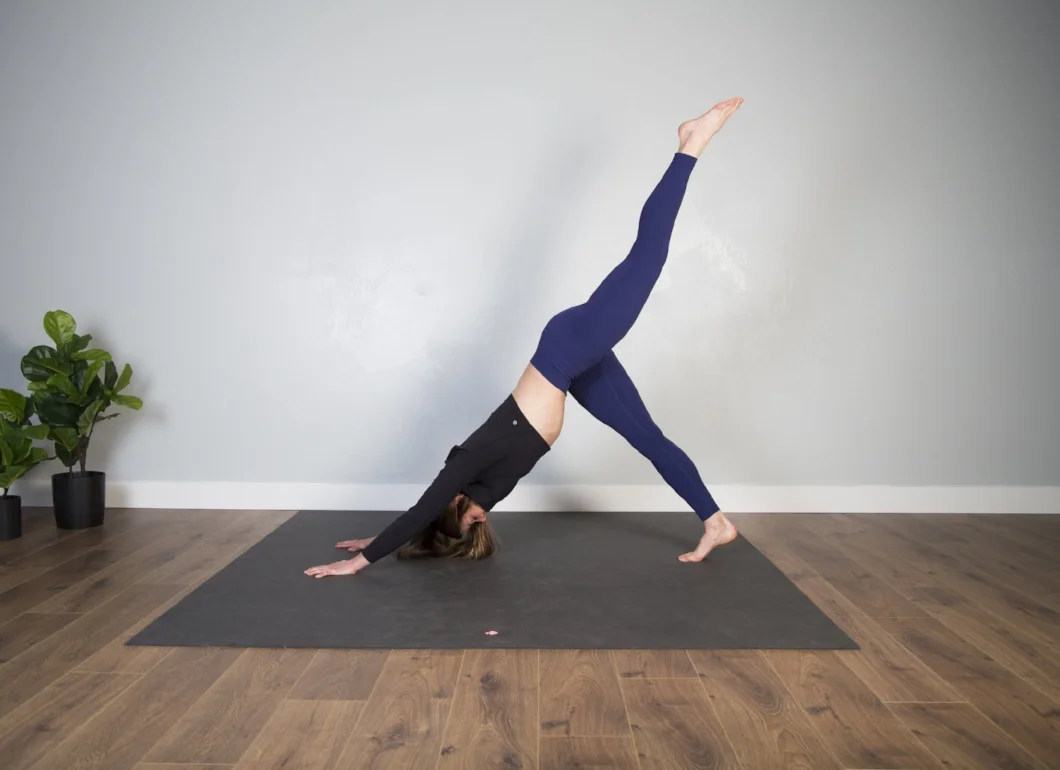
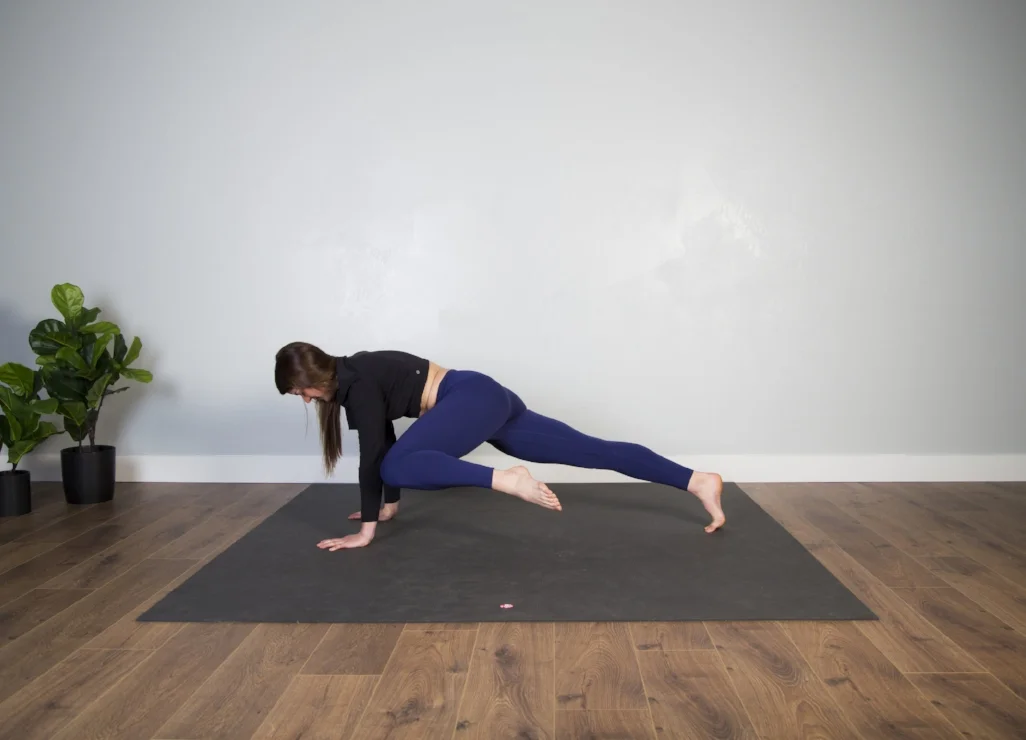
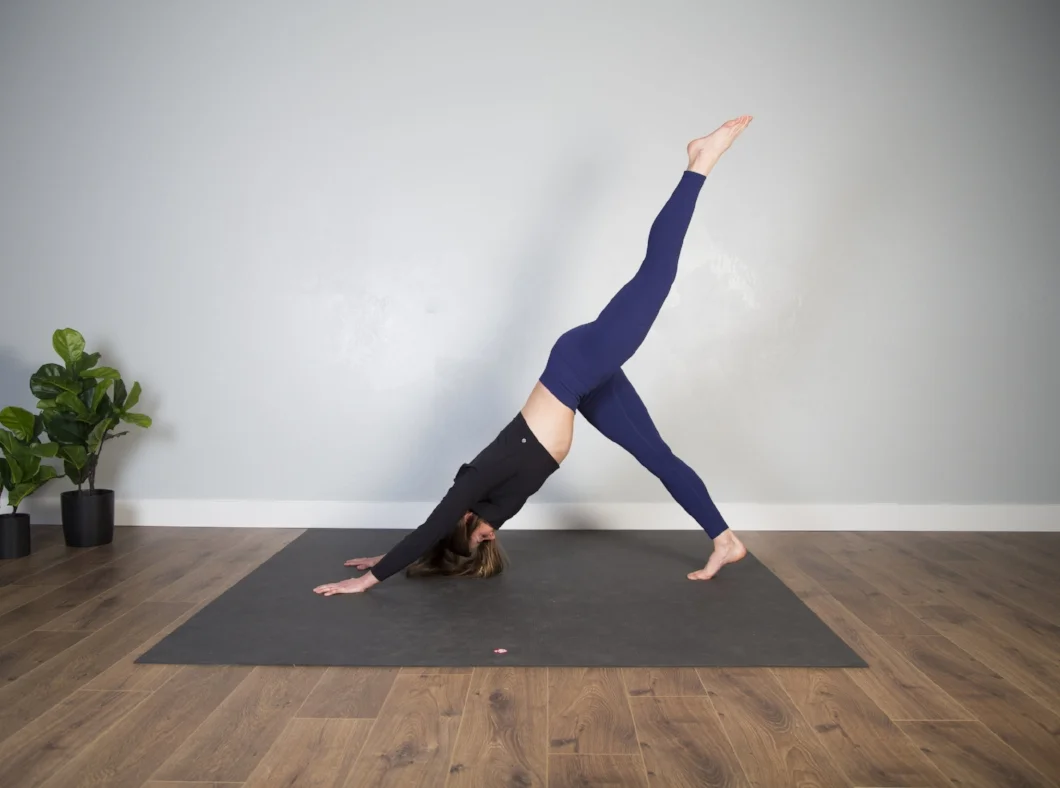
2. Downward Dog Variation
Starting in downward dog, lift one leg up. Straighten through the leg as much as possible, and keep the lifted hip (left hip, in this photo) rotated down so that it is in line with the right.
Rock your weight forward into the fingertips, keeping arms straight, and then on your exhale swing your left leg to tap the left elbow. Inhale kick the leg back, exhale to tap the elbow. Repeat until you think you cannot do any more, and then do 3 more. Pause in Downward Dog for 5 cycles of breath, and then repeat on the other side.
1
2
3
4
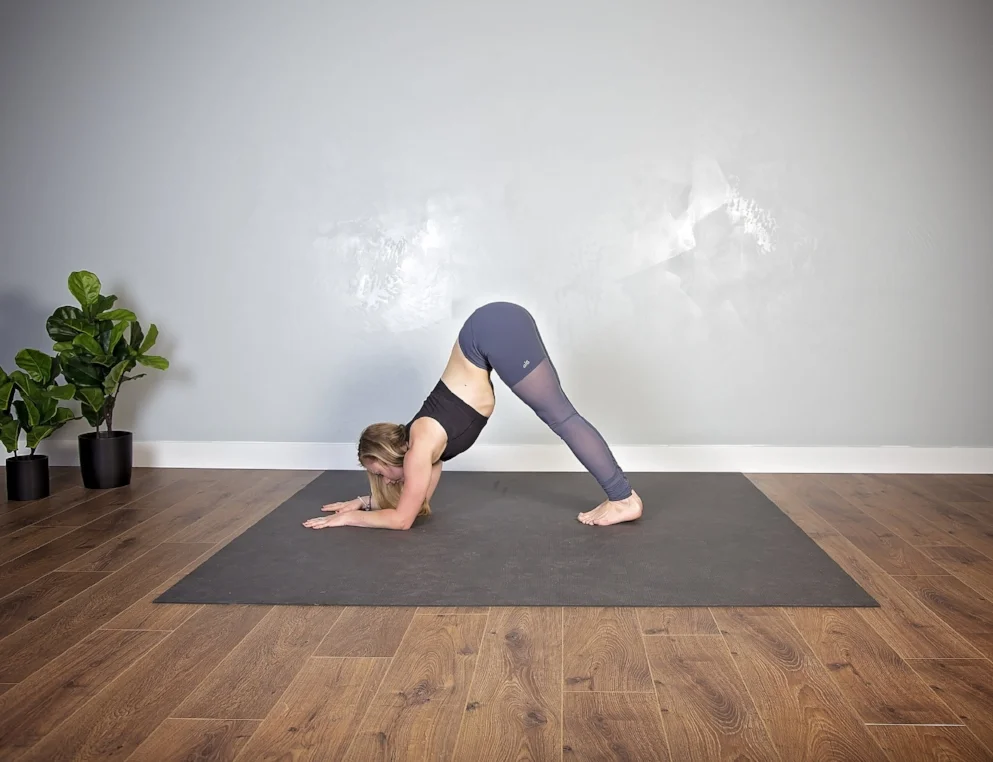
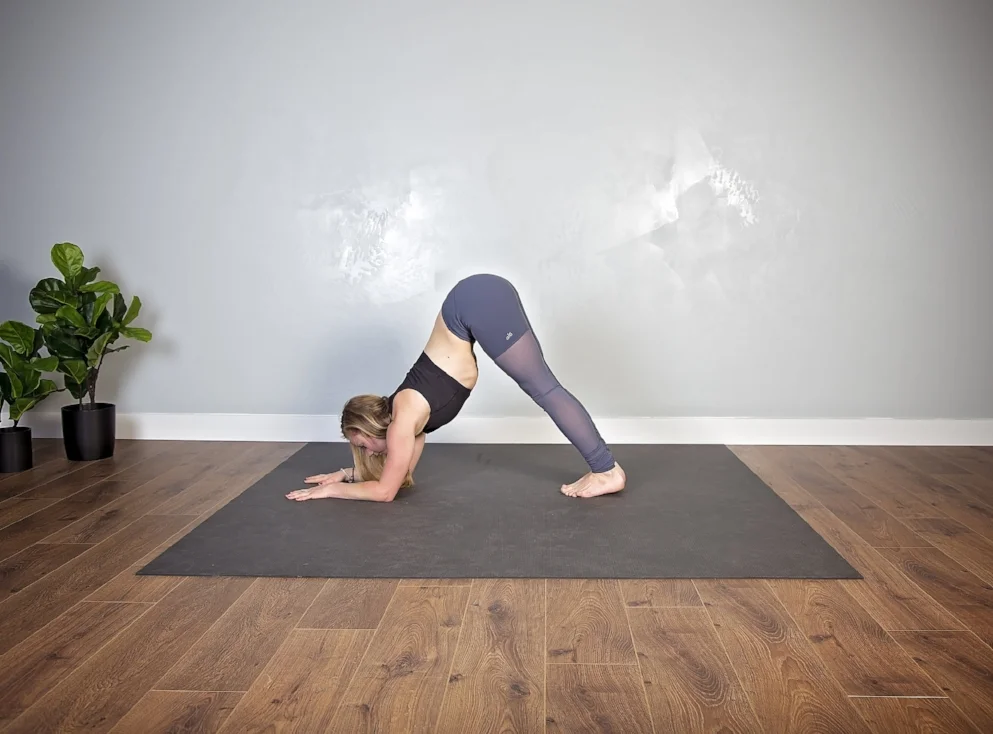
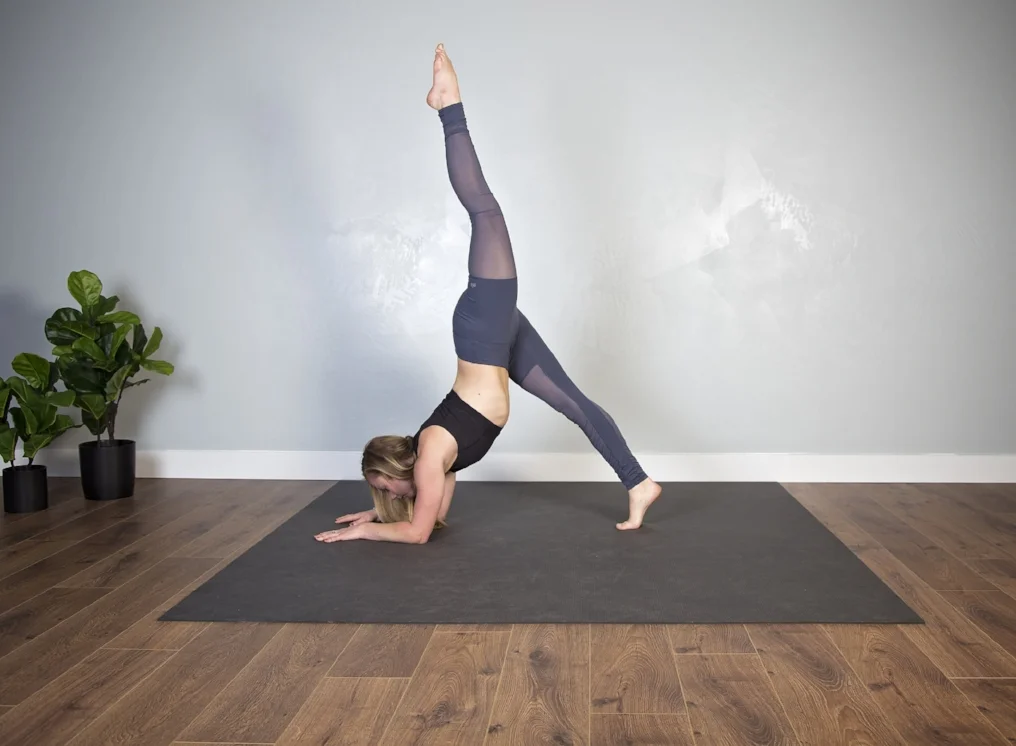
3. Dolphin Pose
To get into dolphin, start in a forearm plank. Elbows are stacked underneath the shoulders, core is engaged, tailbone is tucked (remember the low back). For the sake of some extra core work, pause here for a few extra cycles of breath.
When you’re ready to take it into dolphin, simply walk the toes forward toward the elbows.
Shoot the heels down toward the mat, and press the floor away from you in the forearms and hands so that you are not dumping into the shoulder sockets.
For another added challenge, try lifting one leg up and then the other:
1
2
3
Take a child’s pose when coming out of this pose to relax the shoulders and reconnect to the breath.
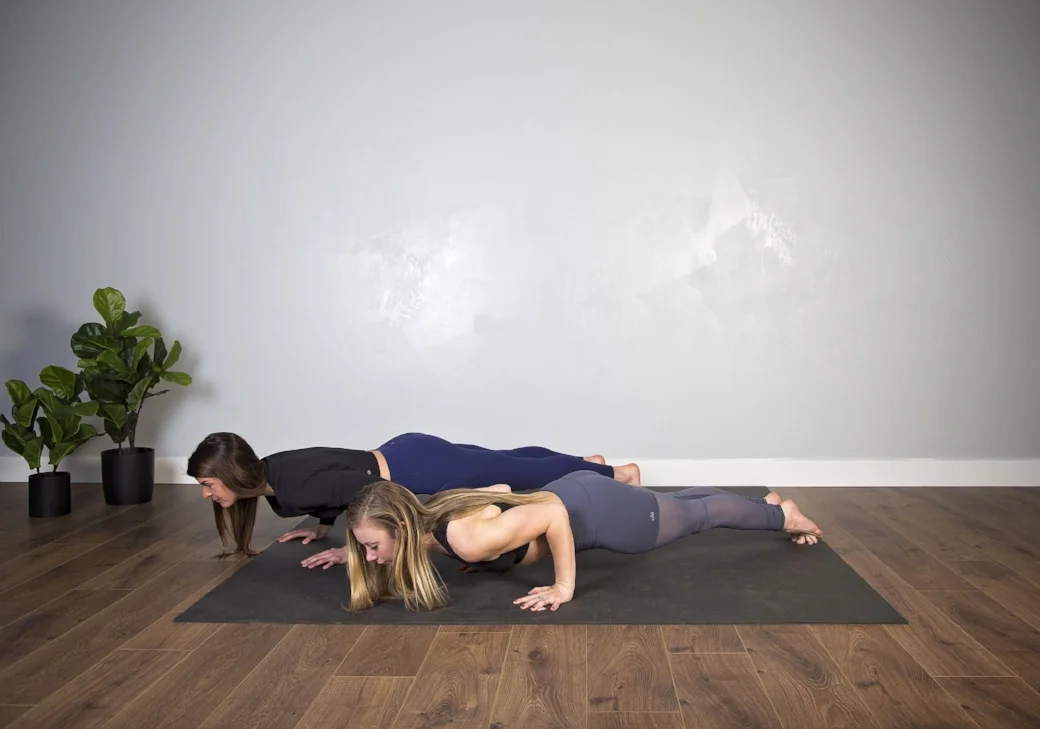
4. Chaturanga Push-ups
From a high plank, or top a pushup position, rock your weight forward into your fingertips. Lower down halfway, so that your elbows are stacked on top of the wrists and the arms bend at a 90 degree angle. You might pause here, and hold. Then lift and lower with your breath. Inhale to press up, exhale to lower. Don’t be afraid to slow the movement down in order to connect it to your breath!
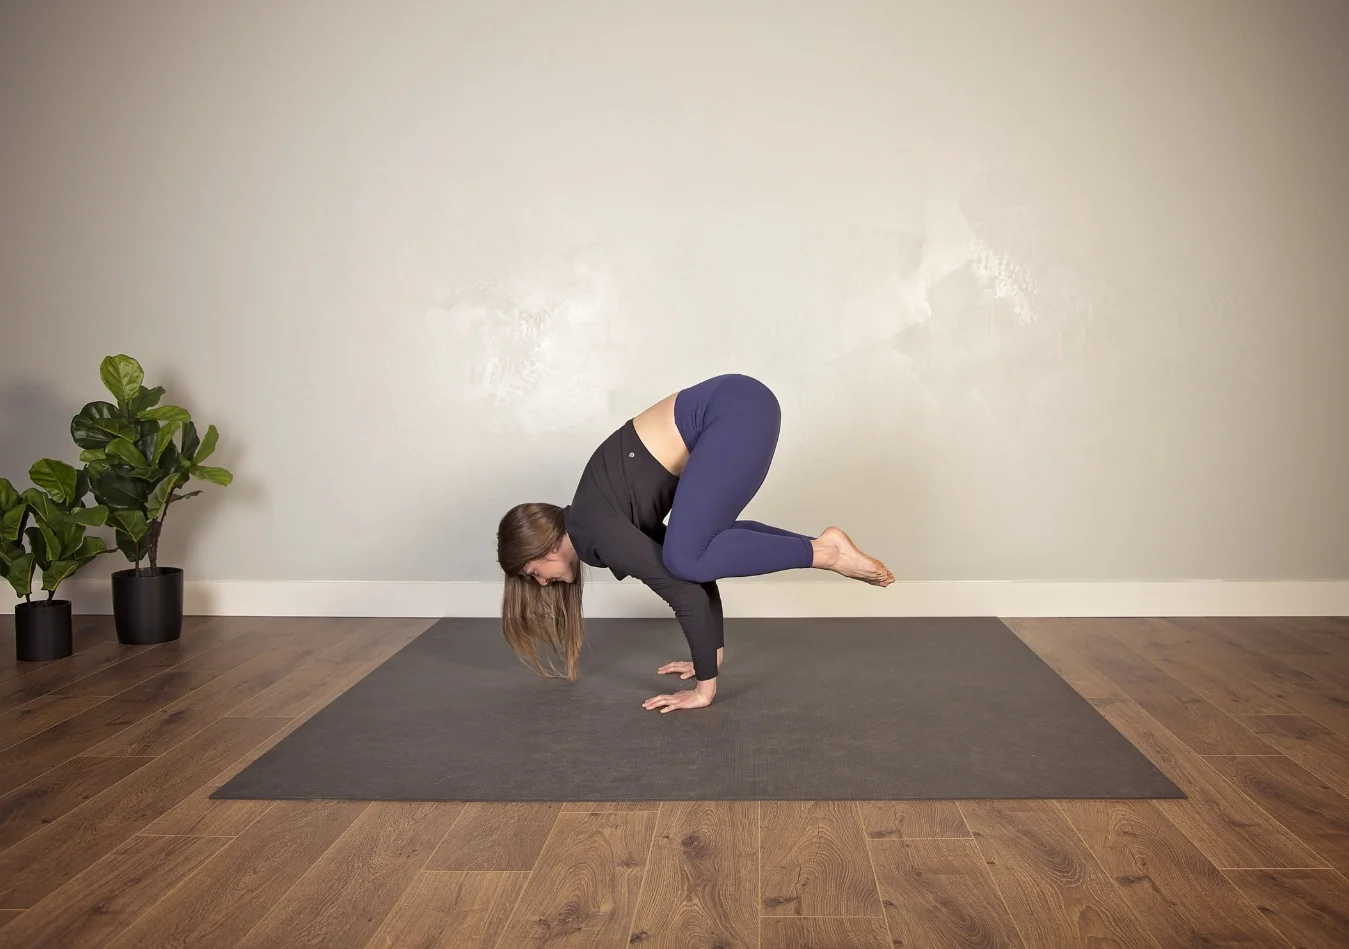
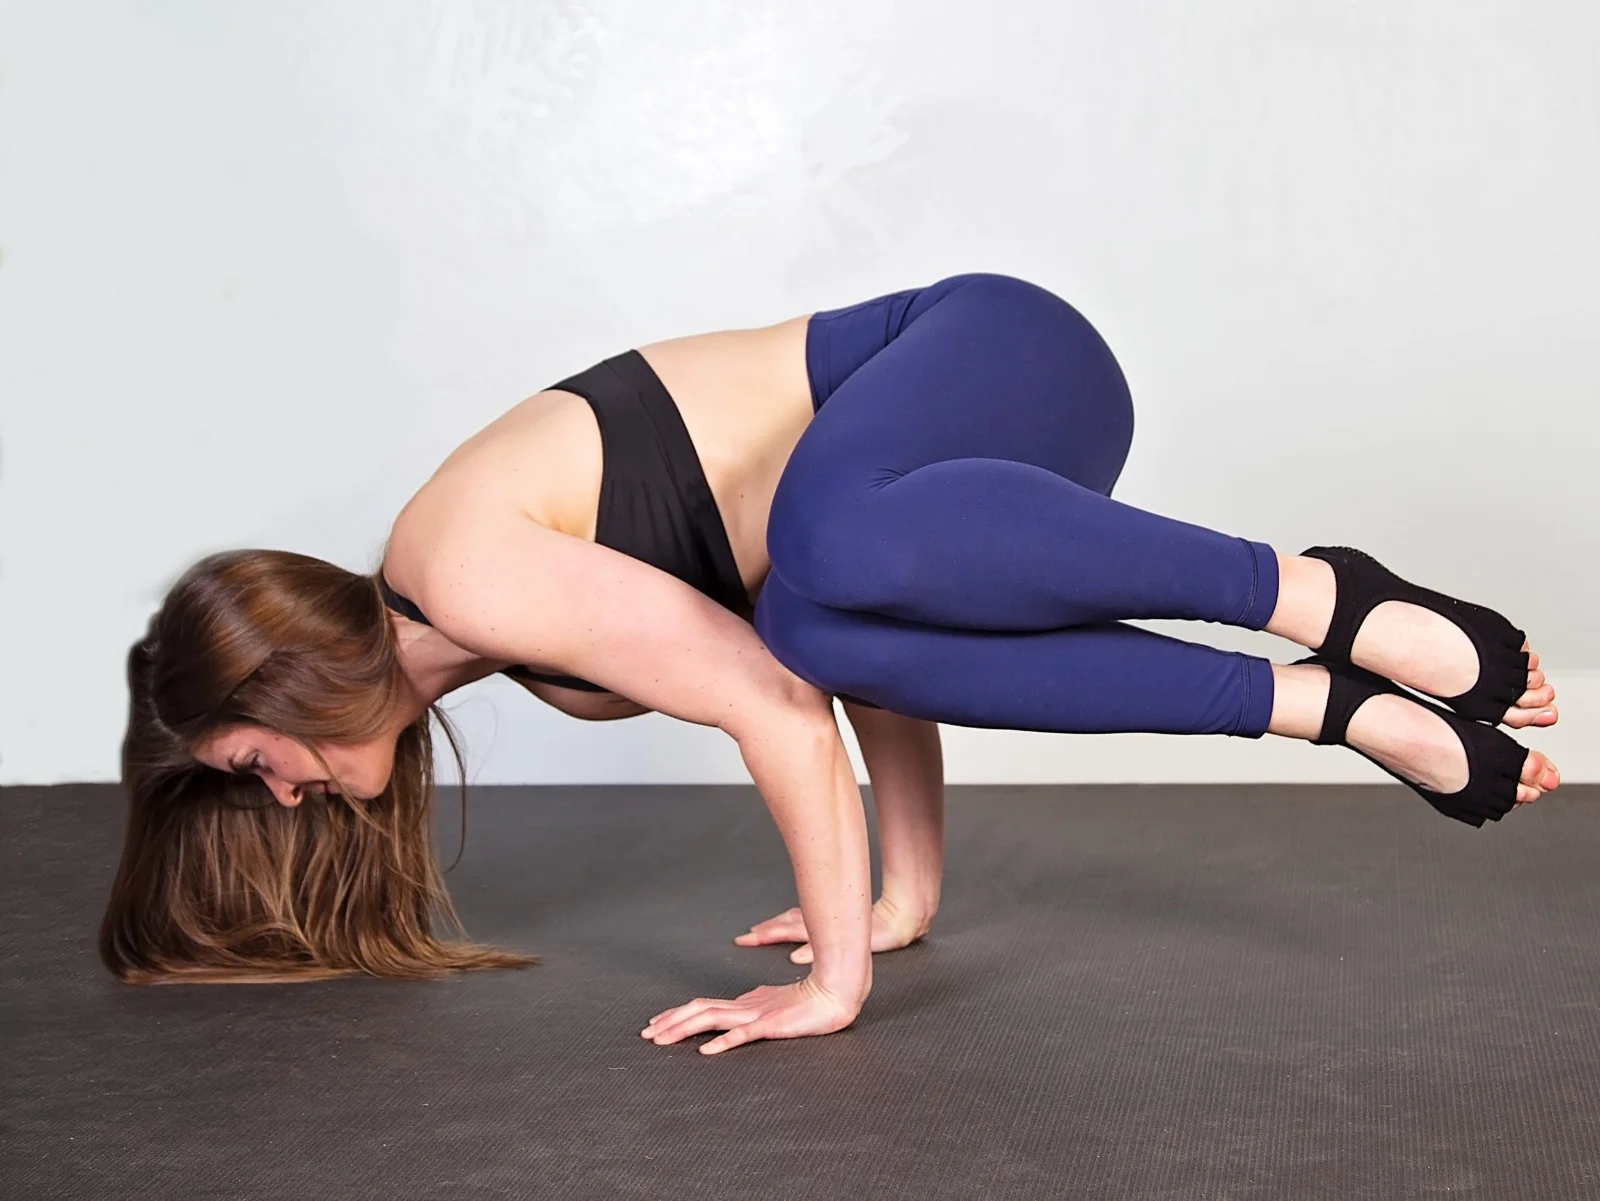
5. Crow Pose, or Bakasana
You may be just learning this pose, or you could be a pro. Wherever your progression is in this pose, note that it is a really good prep for handstand strength. If you do have the balance in the pose work to tighten it up by straightening through the arms and lifting through the back of the heart. (Crow with straight arms is often referred to as Crane pose, actually.)
If you’re just learning the pose, here are some tips:
- Begin in Malasana, or a yogi squat, by separating the feet to the edges of the mat and letting the hips sink down toward the floor.
- Plant your hands on the mat in front of you shoulder-width distance apart.
- Rock your weight forward. Your hands should be so engaged with the mat that your fingertips (all ten of them) turn white.
- Bring your knees up onto the arms, as close to the armpits as possible. Engage the core. Rock your weight forward. Try lifting one foot at a time, and then maybe both.
- If you feel yourself falling forward, tuck the head and roll out of it. It can be scary the first few times you fall, but once you learn how to fall safely, it truly becomes no big deal,.
Once you can hold your Crow and/or Crane pose, work toward holding here for a full minute. Maybe even attempting side crow.
Go through these strengthening exercises each day, and your body will be prepared to hold a handstand in no time!
-Nicole
Meet Nicole...
Nicole Wild is a Bozeman Yoga Instructor and Wedding + Portrait Photographer. Underlying each of her pursuits lies a passion for building relationships and supporting others. She sees photography as a platform to capture and celebrate people's love for each other. While teaching yoga, she gets the opportunity to help individuals deepen their relationship with themselves. Her most recent project, the creation of a local wellness lifestyle publication, skillfully interweaves her passions for yoga and photography. The publication, titled "Ebb + Flow," will be released annually throughout Bozeman beginning in September 2017. When not teaching or behind a camera, you'll find Nicole on her mat flowing and likely standing on her hands.
Insta: @nicolewildyoga + @nicolewildimagery

