3 Secrets To Taking Better Photos With Your iPhone
Blog Squad V.2

One of the most common questions I get when I take any sort of flat lay or food photo is...
“How do you make that look so good?”
And in this case, my answer is almost always "the iPhone made me do it."
Yep. All I use is my handy-dandy iPhone 6 that’s practically beat to shit. I’ve never used an actual camera to take photos, and I don’t have any plans to start.
In my latest post for the Blog Squad Series titled How To Start A Blog With No Money, No Camera, And No Experience. Yet! (click here to read), I dive into how I got started in the blogging world with zero knowledge, minimal funds, and definitely no camera.
After I posted that blog, I got some really great feedback as well as even more questions. Specifically, people were wondering how to take better photos using just your phone. So I wanted to give you a more in-depth look at exactly how I use my iPhone to take better photos as well as give you my three tried and true tricks so you can start doing it on your own.
Now, taking flat lays and food photos wasn’t always my strong point. To give you an idea of just how far I’ve come, I’m going to show you some of my very first ones circa 2014. I dare you not to laugh.

bad.

really bad.

the WORST.
Andddddd you’re welcome.
First off, the text overlay is absolutely awful. Just awful. Then, the lighting is so dark you can barely tell what anything is. And finally, there’s no consistency, so forget trying to get your photos recognized as The Wellness Rookie's.
After realizing just how bad I was, I started taking more photos and experimenting with more and more techniques. After a while, I got a little bit better. Here are a few of my photos after I learned a few tricks.
meh.

alright.

not bad.
As you can see, these photos are a little bit better. The images are clearer and a bit easier on the eyes, but I don’t like the way the backgrounds turned out or how saturated the colors are. Still, there is no consistent theme.
Fast forward a year. I've since then invested a lot of time and energy, as well as a little money, into my business, and can finally say I’m on the right track to food photography.
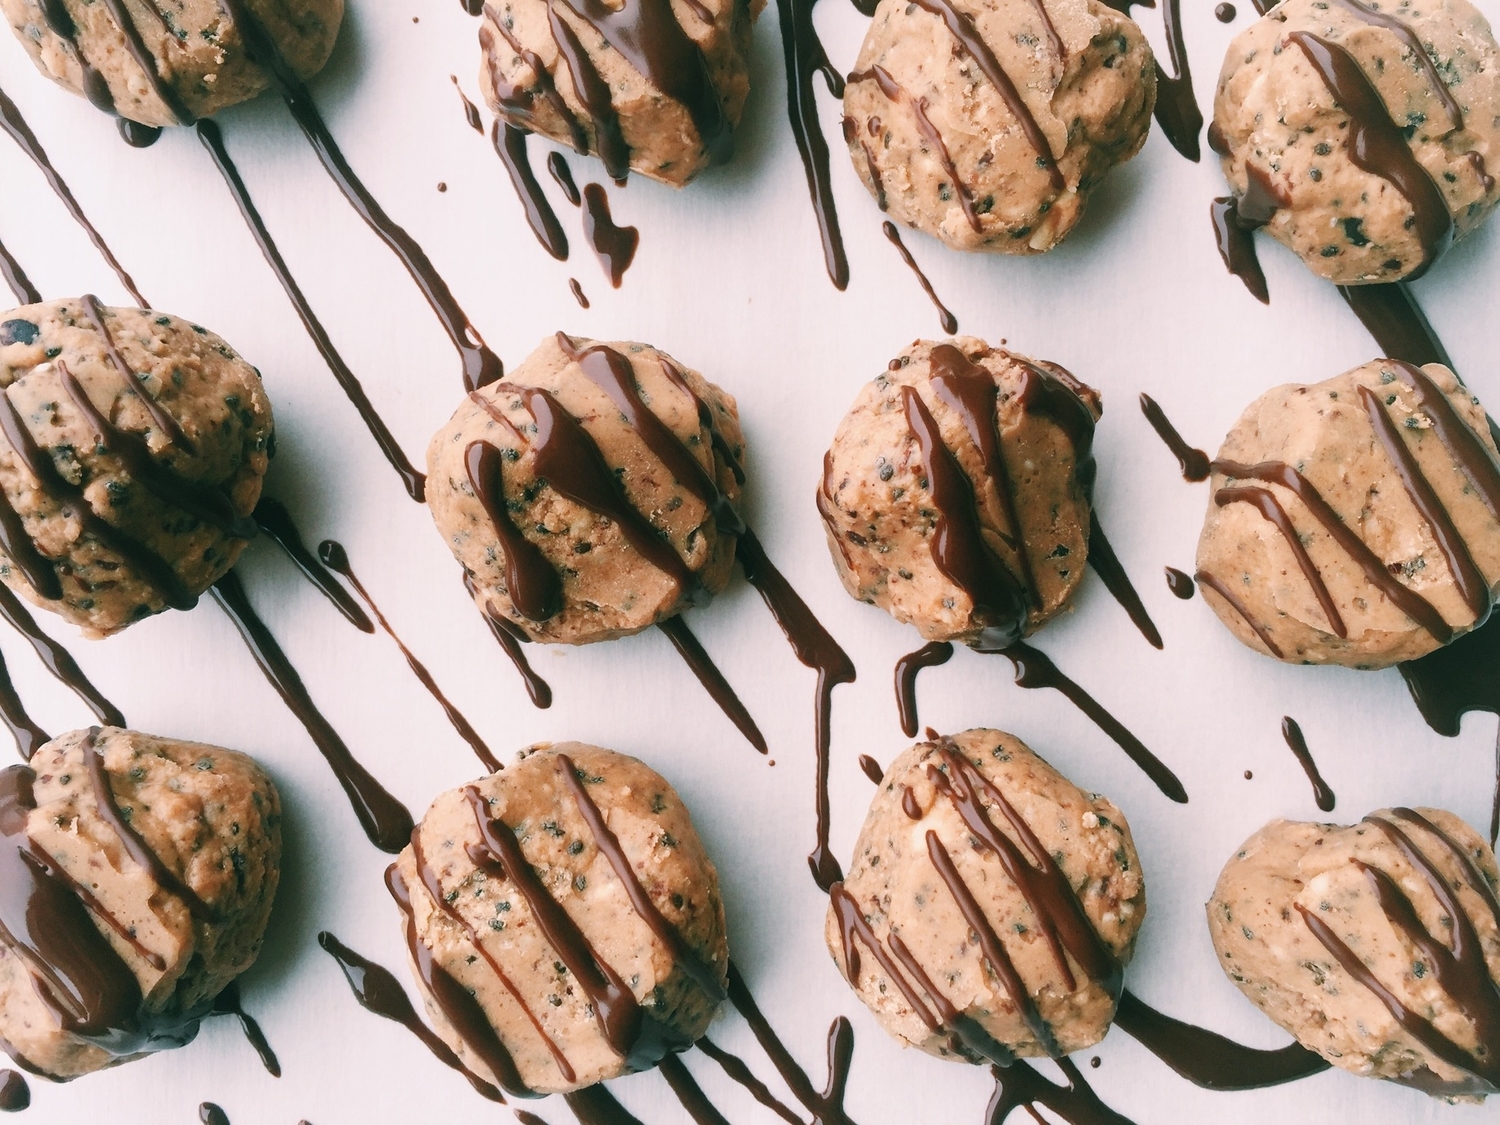
Here are a few of my latest images that I’m pretty proud to associate TWR with.
YUM!
Work ittttt.
Hungry yet?
I want my photos tell a story before you read any words, to catch your eye in an instant, and to actually get noticed by the audience I want to attract.
My photos are still a work in progress (as is everything in my world), but these images are a huge step in the right direction.
>>>Get Seen Online! Download Your FREE Social Media Size Guide HERE
With lots of failed attempts at photography under my belt, I decided to write this article to give y’all the direction I wish I had when I first started blogging. Because let's face it, it's a rough world out there and no one wants an ugly food photo.
So I'm giving you my top three secrets to taking better pictures when a phone is your only option. And, trust me, there's nothing wrong with that!
1. Choose Your Background Wisely
Since backgrounds can make or break your photos, there are a couple of key things to remember when choosing what to shoot your objects on.
For starters, make sure you have clean and consistent backgrounds. It's best to stick to 2-3 options so people can easily recognize the photos and instantly think of your blog, brand or business. BUT if having all different backgrounds is your style, then keep doing your thang!
I usually shoot on 3 surfaces. One is a white marble slab that was a scrap piece leftover from some rich person's kitchen (thank you, Marky Mark). To get your own, you could go to a local tile/flooring store and see what scrap pieces they have on hand. They'll usually sell them to you for next to nothing.
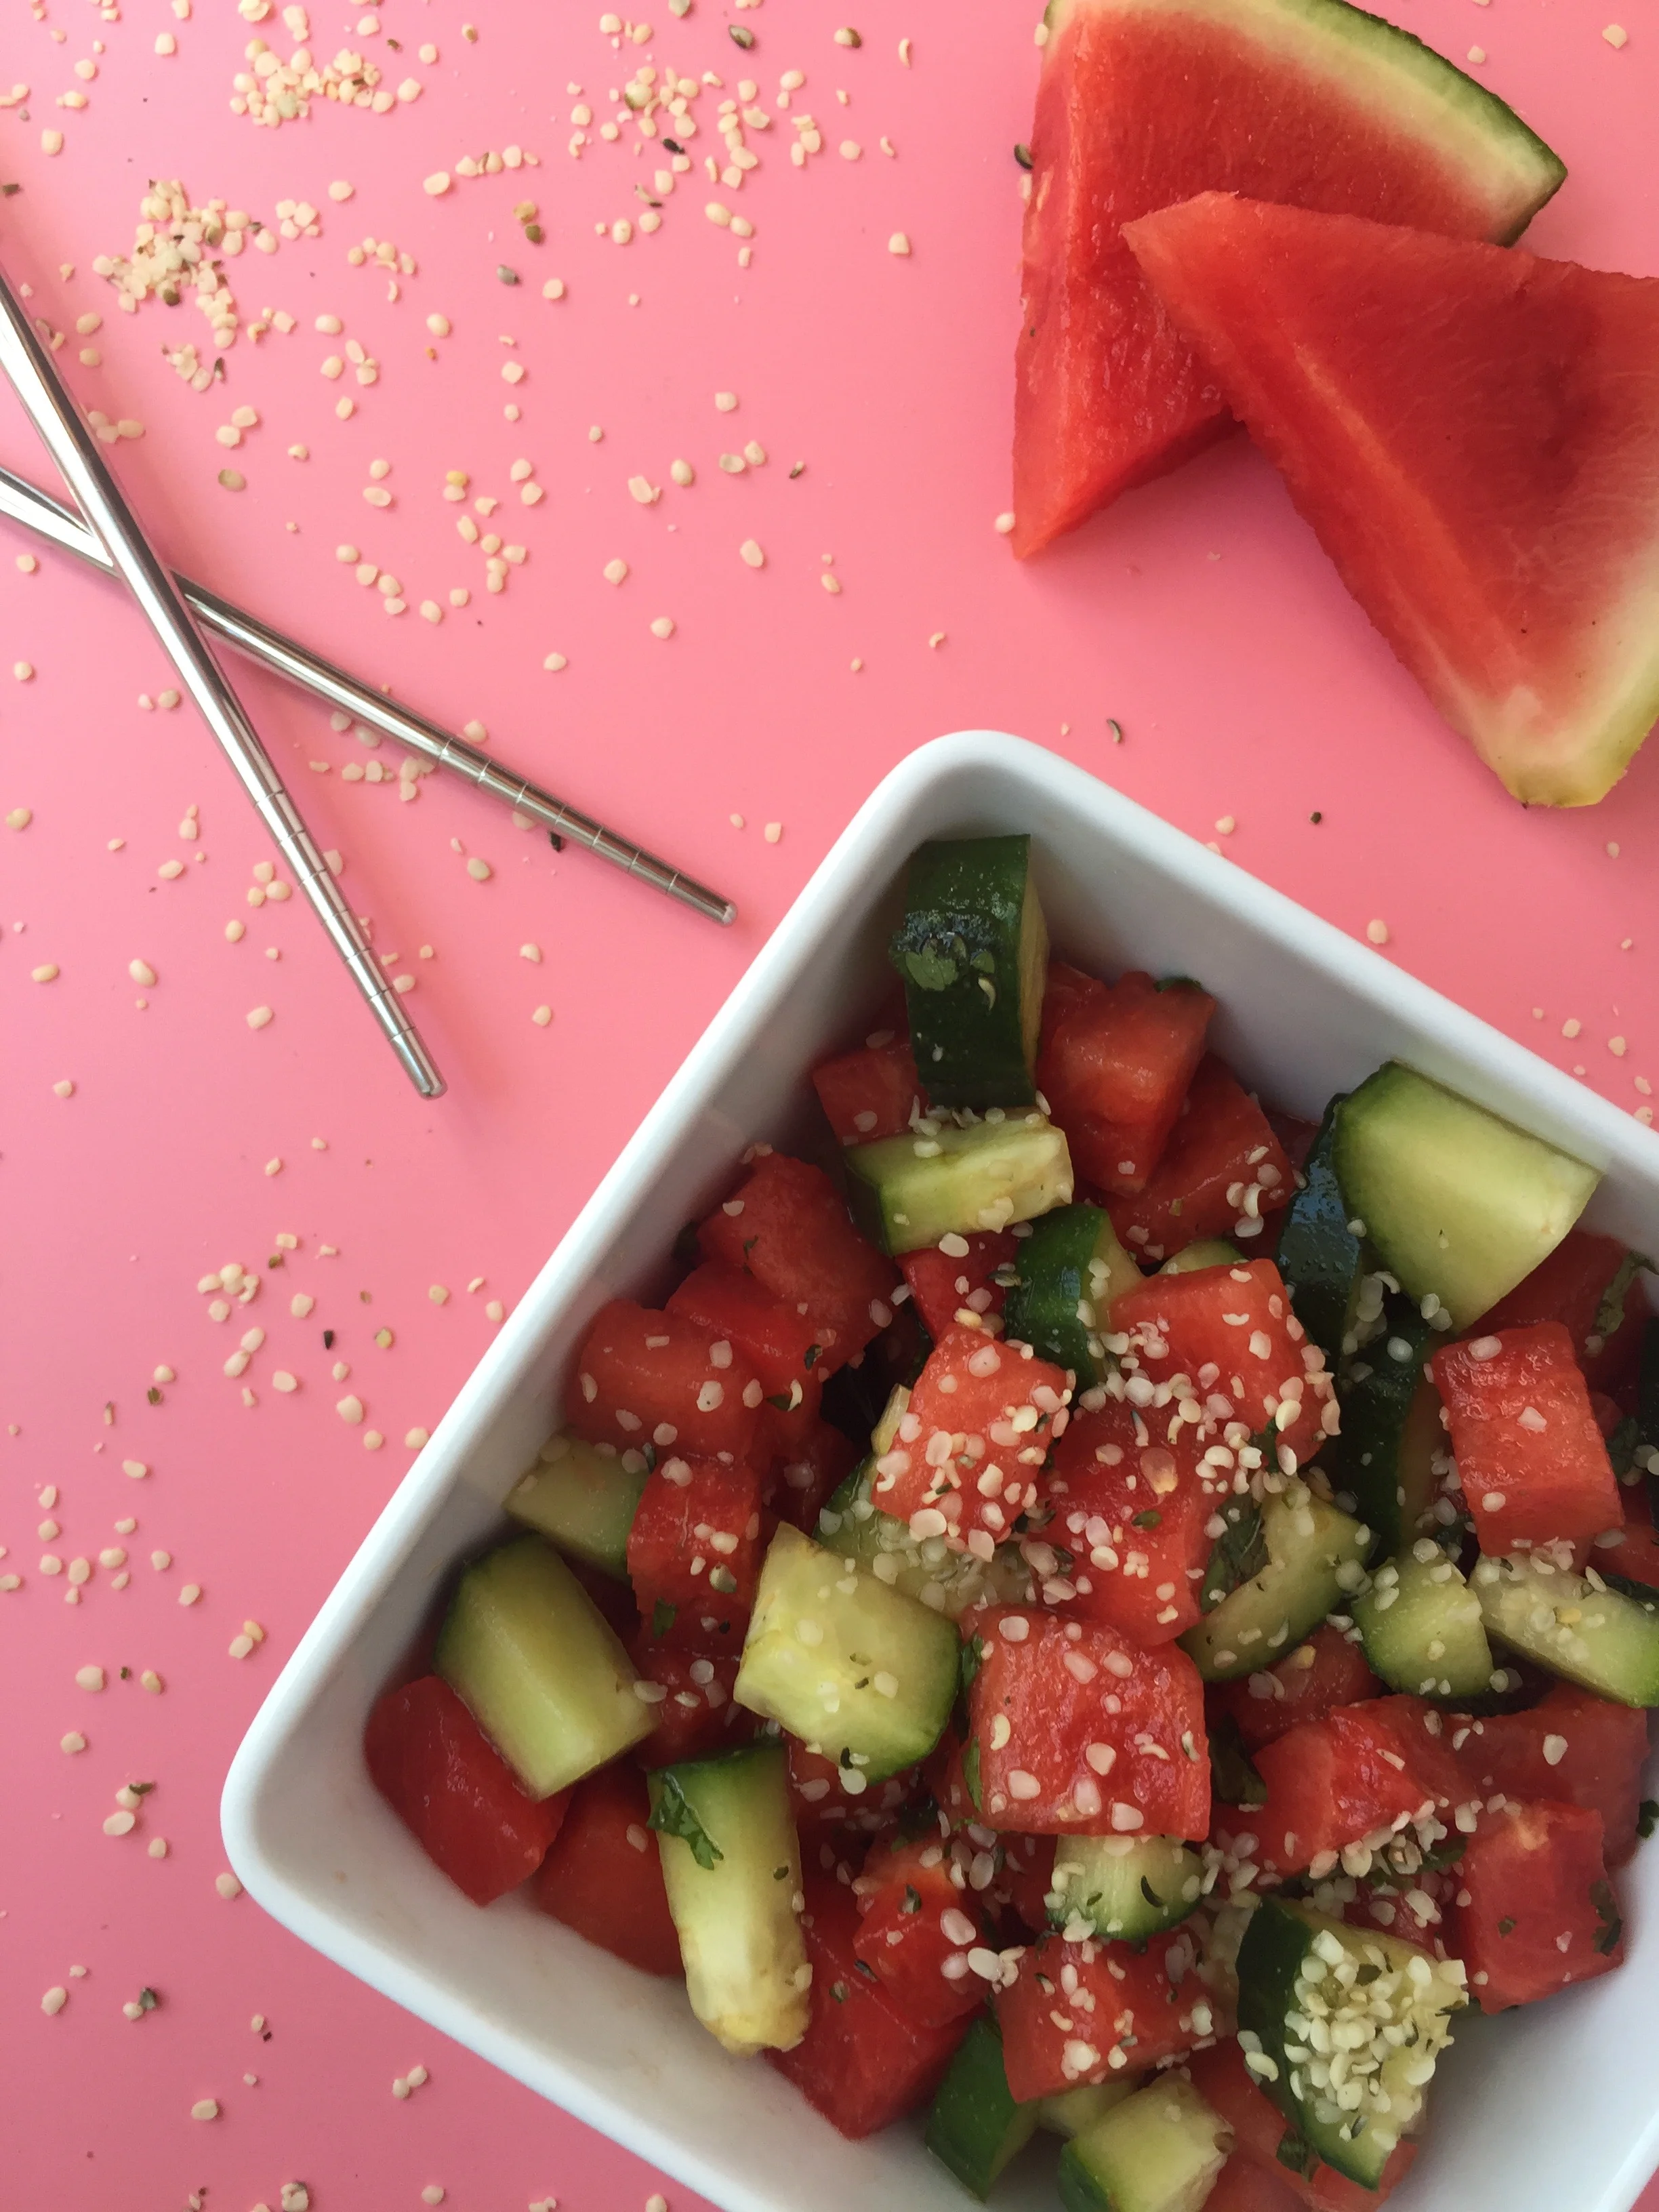
The second background I use is just this pink piece of vinyl paper from Amazon because who doesn't love the color pink? If pink isn't your jam, they also have a ton of different colors and patterns such as this barnwood assortment or these marble backgrounds. Experiment a bit and see what you like to shoot on.

Pink Vinyl
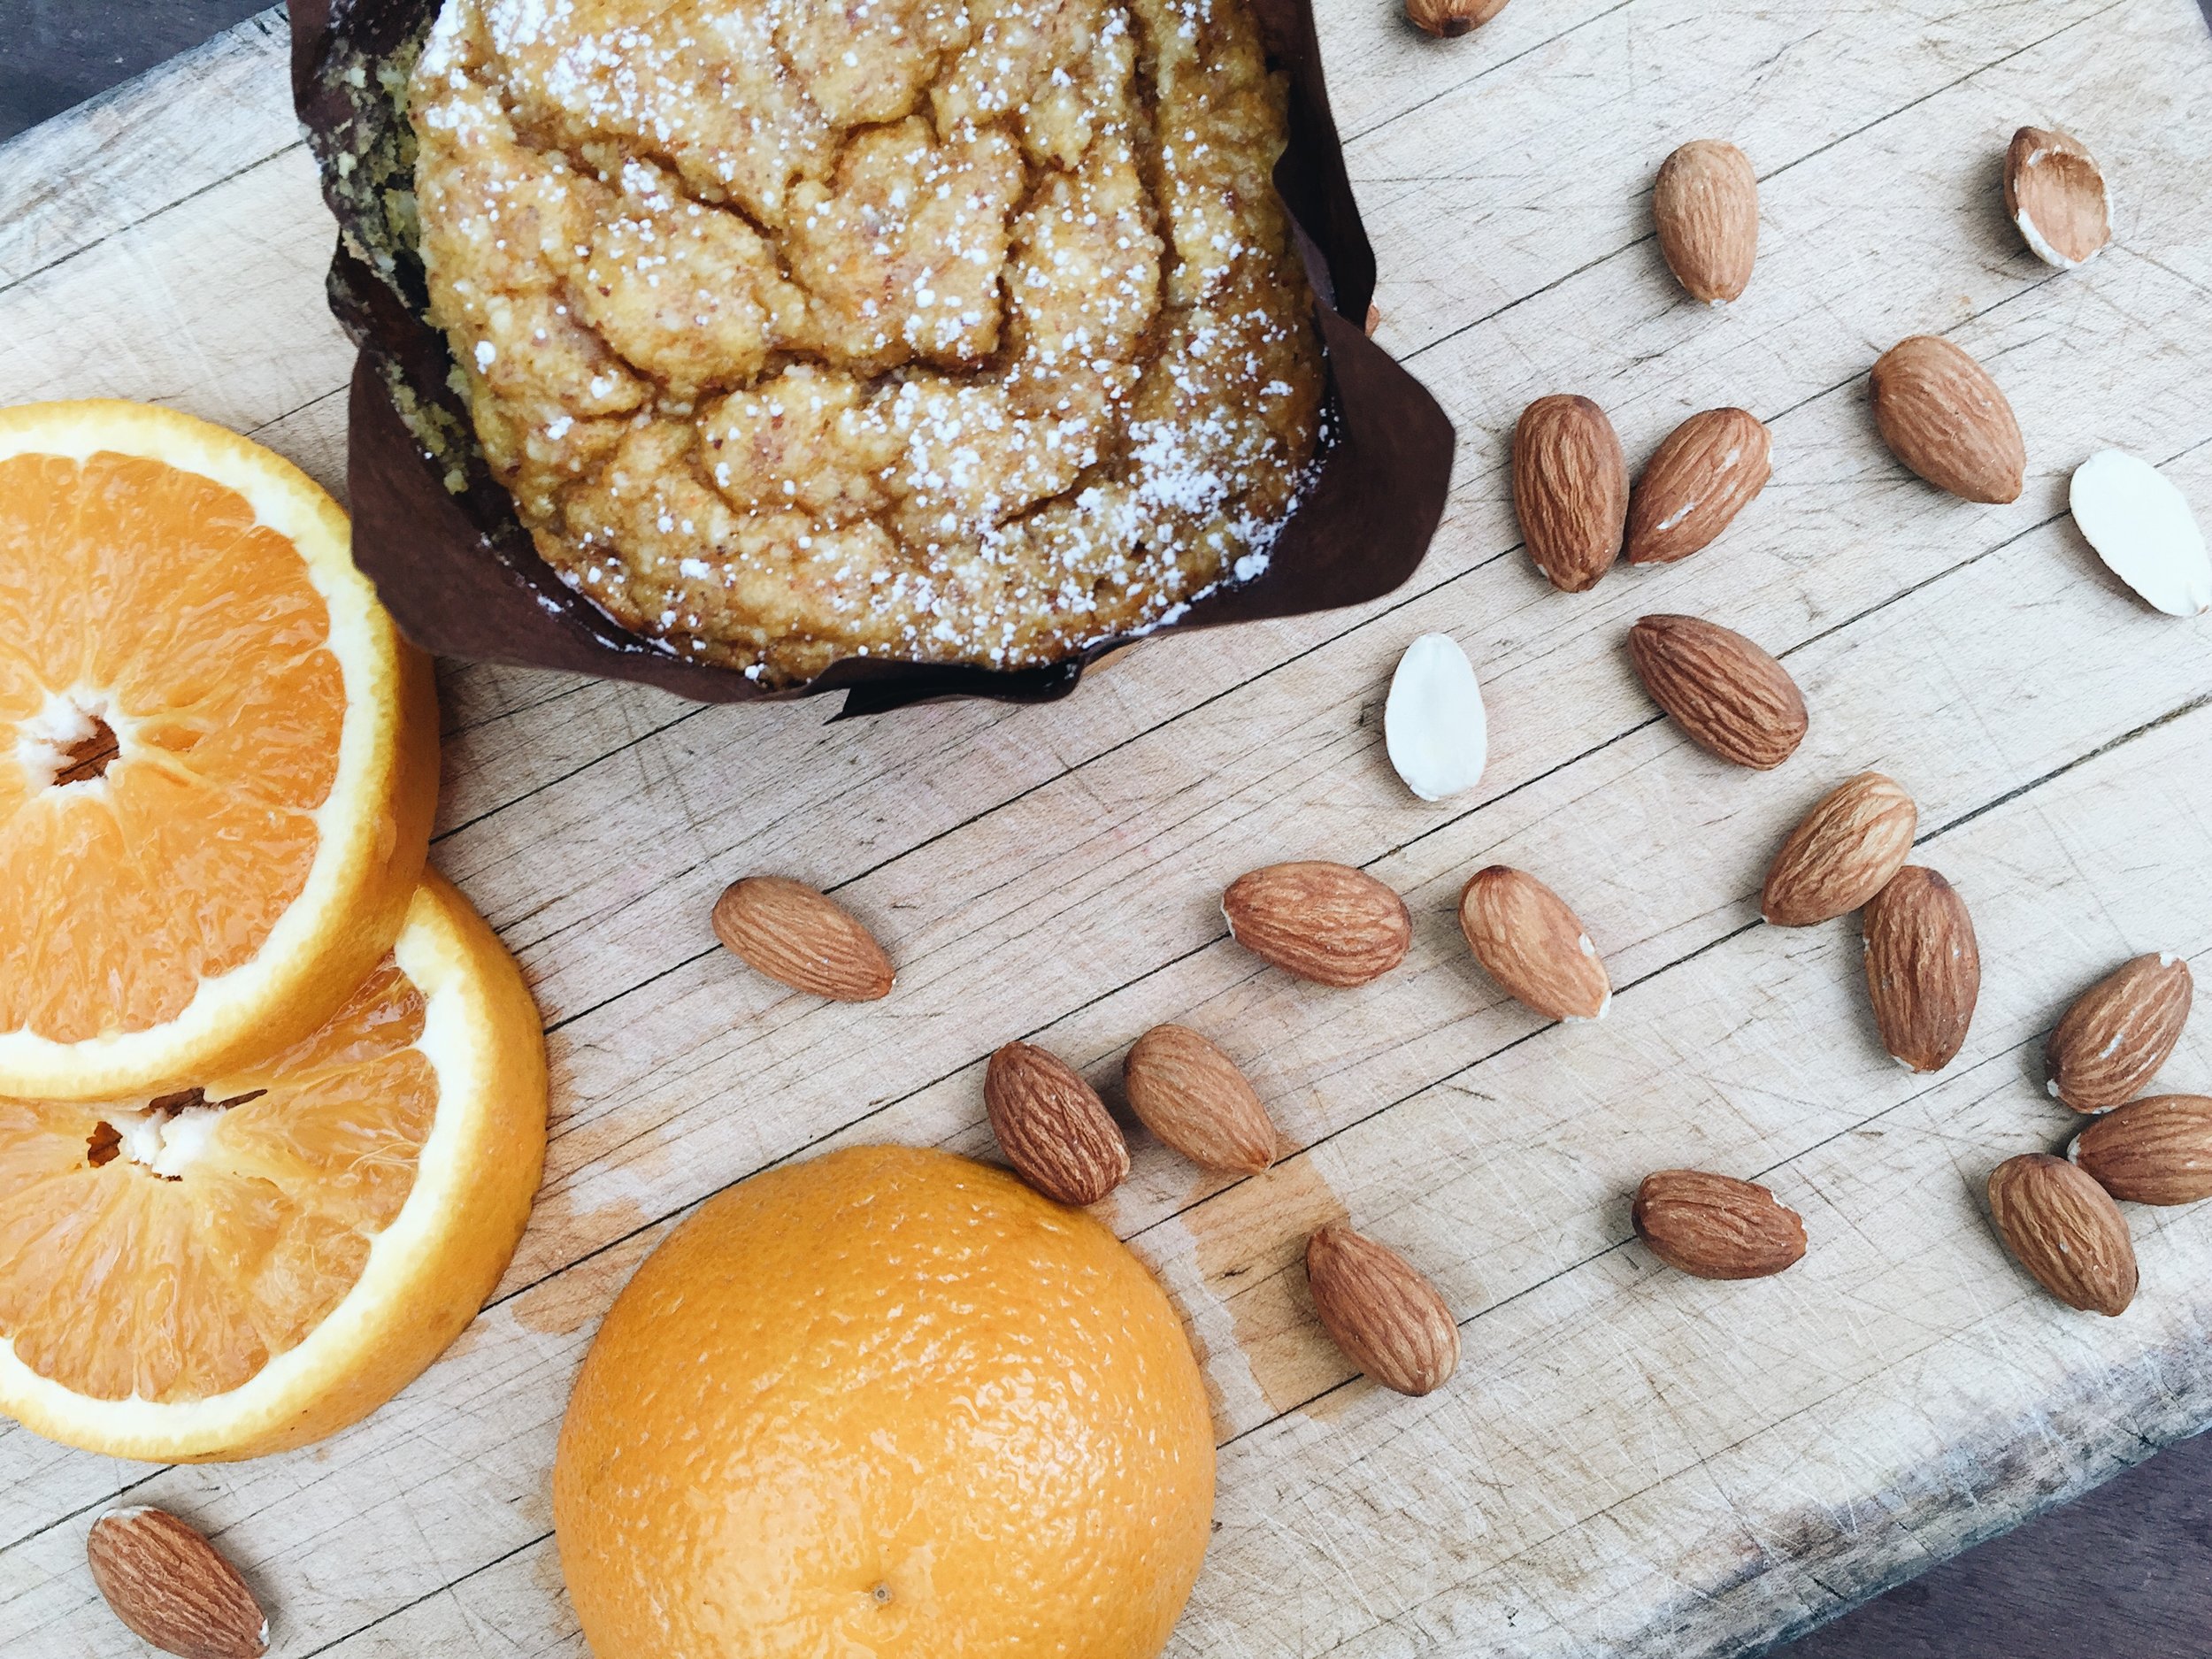
The third background I use is an old wooden cutting board. For some reason, I love the rustic-ness of it as the knife marks add character and the faded wood adds texture.
Just make sure all of your backgrounds fit your aesthetic and match well with what you plan on taking pictures of.
2. Lighting Is Key
If I had a dollar for every damn time I took a photo without using natural light, I'd be rich.
Natural light is key. I repeat. NATURAL LIGHT IS KEY!
You want to make sure you take all of your styled photos using natural light. But before you go running into the sun, there are some very important things to keep in mind.
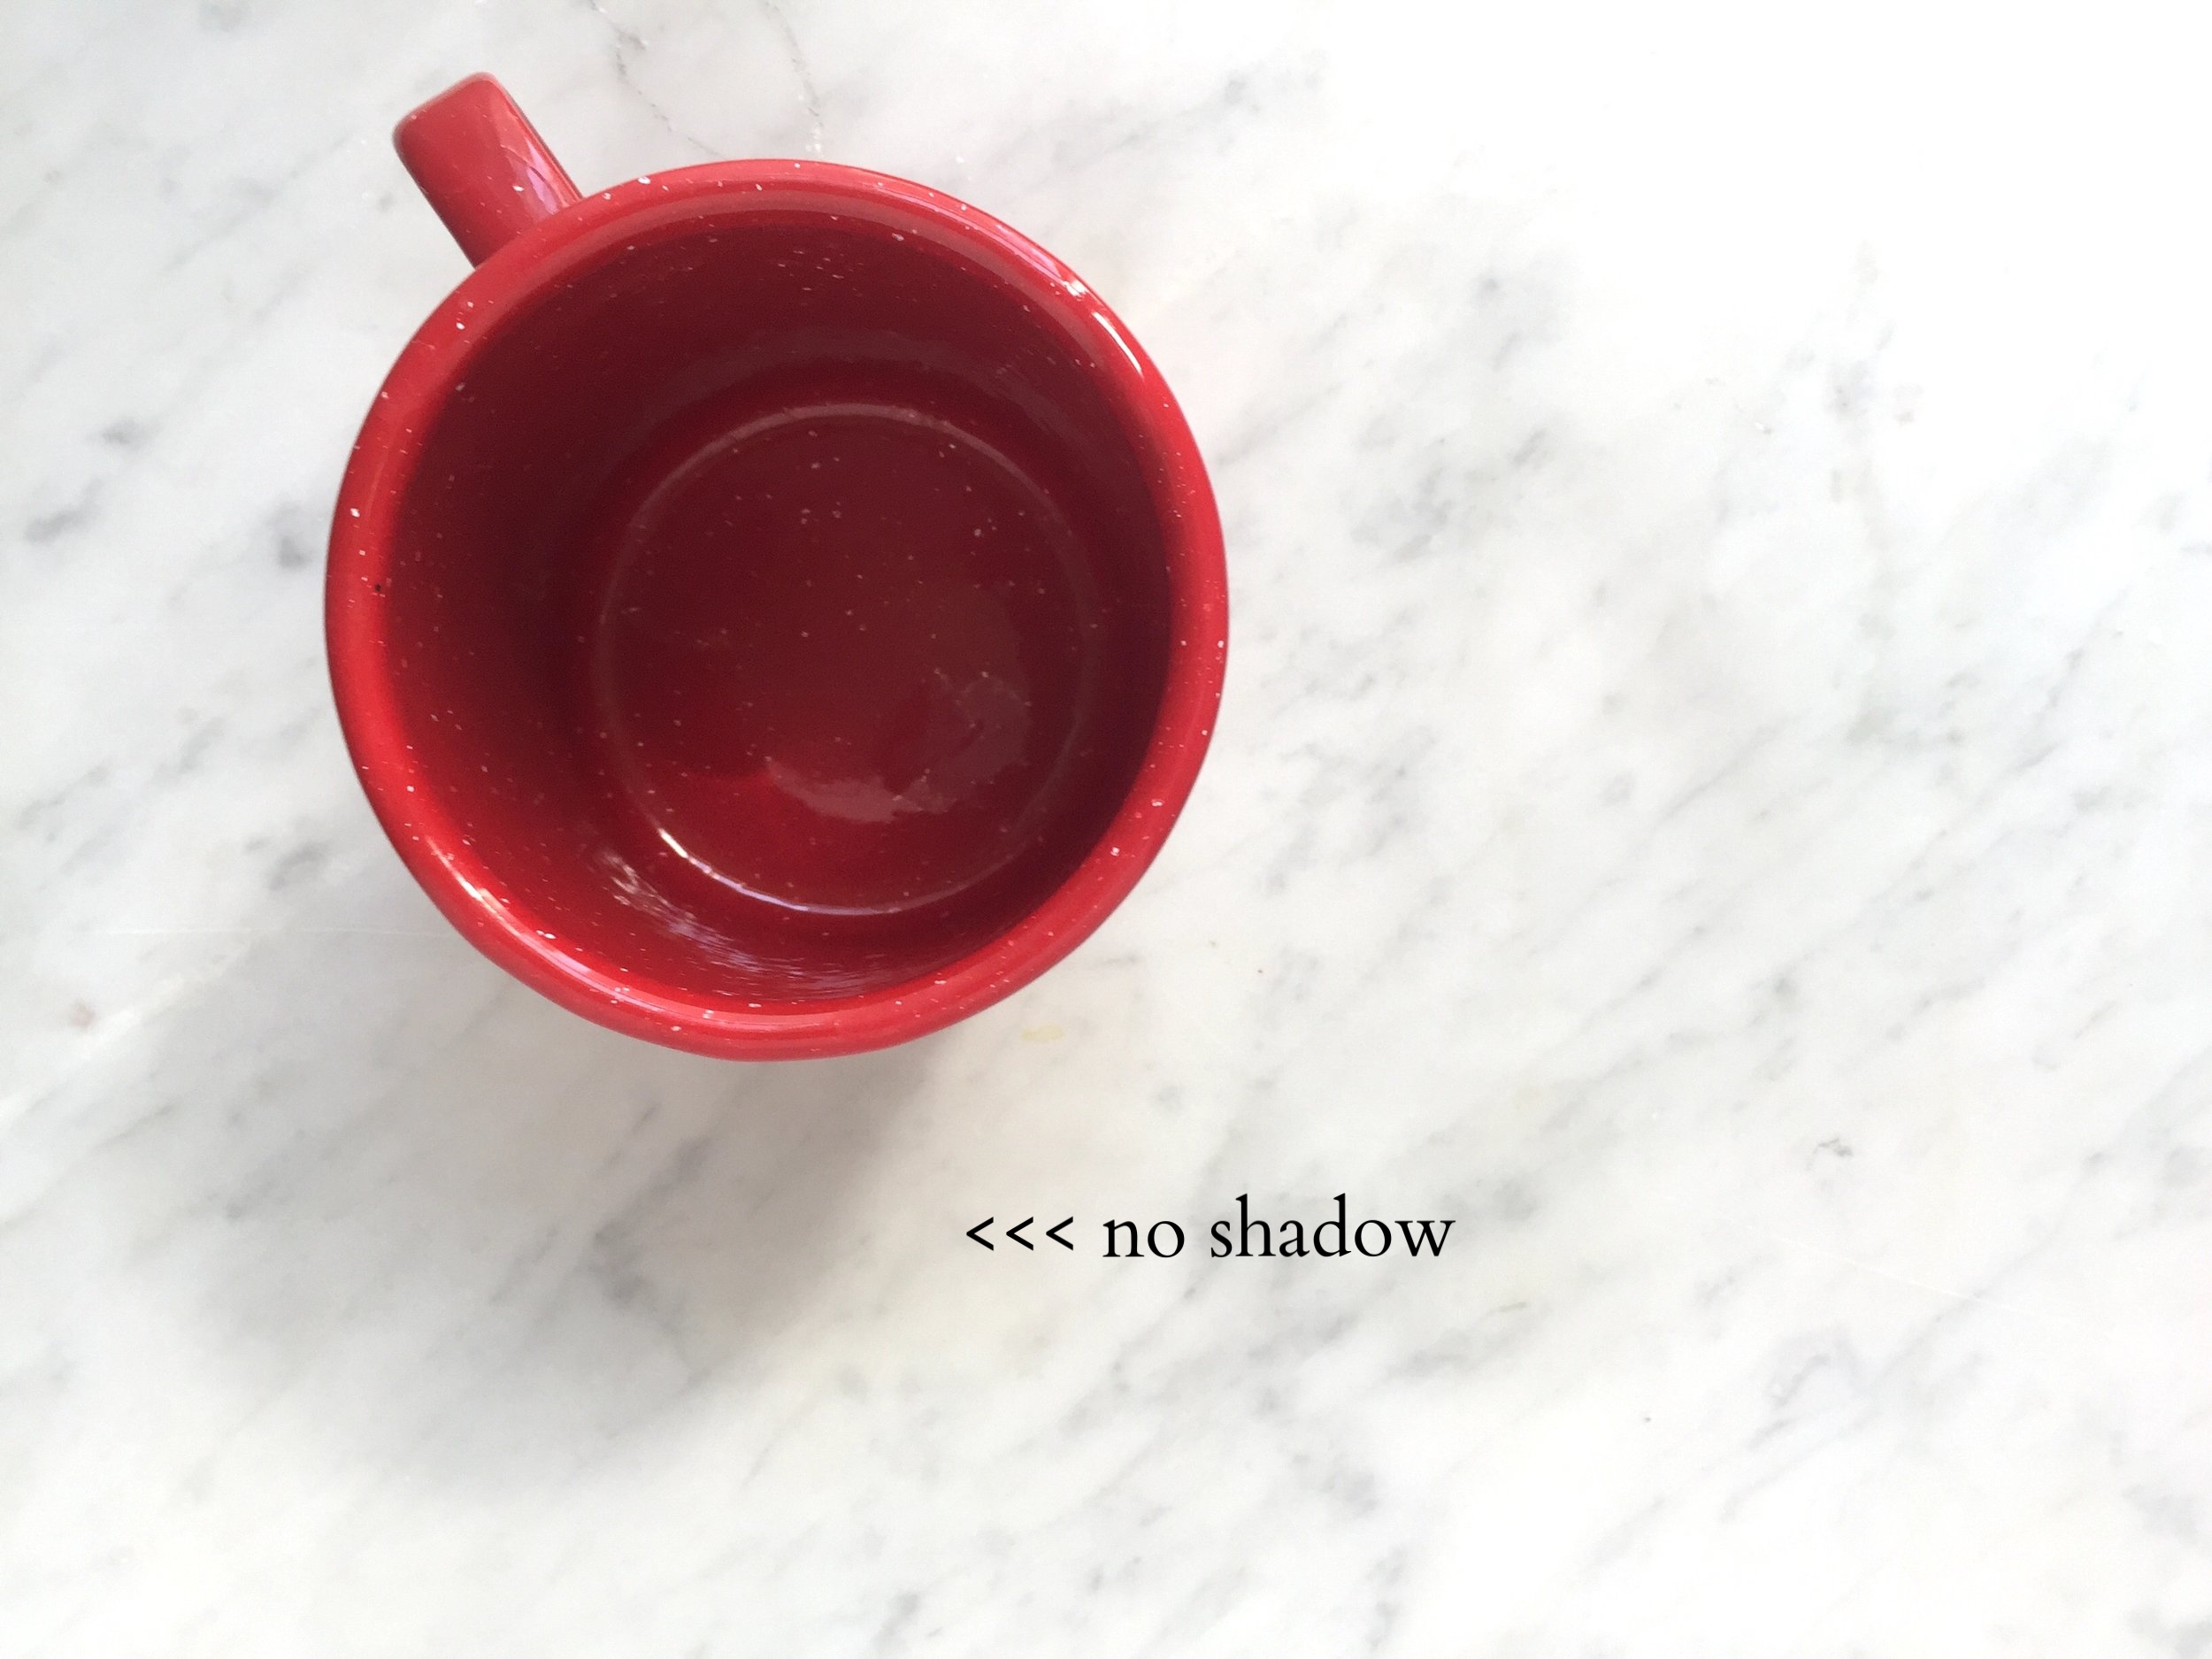
For starters, you don't want direct sunlight. This is going to make your images look very washed out and harsh. The best lighting is indirect sunlight -you know, when it's overcast or when the sun is just starting to set or rise and you have some shadows to work with like the 2nd picture below.

Direct Sunlight

Indirect Sunlight
Second, you also want to make sure your light is evenly dispersed on your background. This is where backlighting comes into play. Don't you remember learning about light in jr. high? And how the color black absorbs all light and the color white reflects all light? Science, babes, science.
So in order to get even lighting, you need to reflect the sunlight off of a white background. I like to use white posterboard like this one because it's super cheap and very easy to find.

Without backlighting.
With backlighting.
3. Edit With Consistency
My third and final secret when it comes to taking better photos with your iPhone is make sure your edits are consistent! That means you should be using the same editing app, with the same filter, and similar adjustments for each photo.
My favorite editing app I use on my iPhone is VSCO. I seriously use this for every single photo I take so I can't even recommend other apps to use. Their preset filters (no adjustments needed) are so well thought out and provide so much variety that you can definitely find one that suits your style.
For me, I don't really use filters. I'm a huge fan of going into each adjustment and making just a few necessary tweaks in order to get that crisp, clean aesthetic that matches my brand. I'll usually tweak the exposure, contrast, saturation, hue, and a little bit of the sharpness.
BEFORE

AFTER

BEFORE
AFTER
The same applies to pictures of humans.

BEFORE (literally)

AFTER
And there you have it. My top three secrets to taking better pictures using just your iPhone.
Hopefully you learned a few tricks and tips to becoming the next "iPhonographer". And if you have any other tidbits you'd like to share that I didn't cover, let me know! I would love to hear your own tricks of the trade and put them to the test.
XO, Cass